
1.0 – A Minor Soliloquy
A little tangent, recipe blog style, before we get into the build itself (if you’re pressed for time, skip down to the next header to get going on the build log).
The last time I competed a costume was at ECCC 2016, and after that I was forced to put cosplay on a big backburner for the rest of college if I wanted to finish my degree on time. I graduated and got a job in 2019, and then we all know what happened next, and until last summer, I had a really difficult time finding the motivation to make anything. I floundered through a few projects, but my saving grace was actually some dungarees I made in late summer 2023 (highly recommend the Sasha Starlight pattern) and all the sudden I was flooded with the big build itch.
Now, in the 8 years since last competing, I’ve made a ton of friends, many of whom love it (and they’re really friggen good!), and I think my view on what constitutes a so-called “competition cosplay” got a little… skewed?
Like, the sentence “Oh, I didn’t weave this fabric myself, so the costume’s not competition worthy” is actually something I said.
And October came, and I rewatched the ECCC 2023 competition, and I sat there, and I said to myself, “Wait a gosh darn minute. I’ve done this before, and I can totally do it again.”
And then I didn’t tell anyone. Not even my fiance. I listened in on friends’ conversations about competing, silently poured over their previous build books, and stewed about how to make a dress come to life.
I told myself that if I could get it wearable by the submission deadline, I’d try out competing again. I wanted to see where I actually measured up – if all the accumulated knowledge in my head put to use actually meant I knew what I was talking about. And, who am I kidding, I’m a pretty competitive person. 15 years of being fairly mediocre at competitive jump rope made me a pretty good loser, but I’m still the kind of person who wants to win in a competition with my fiance on brushing our teeth (and he has no idea he’s competing with me).
After almost a decade of taking a lot of shortcuts to make my costumes as quickly and as sturdily as possible, this meant doing everything right. No slap dash serging, no purchased undergarments, no hiding sneakers under my gown because no one sees them anyway.
So, here’s a recap of exactly how many corners I didn’t cut (and maybe a couple I did).
1.1 – Design and Overview
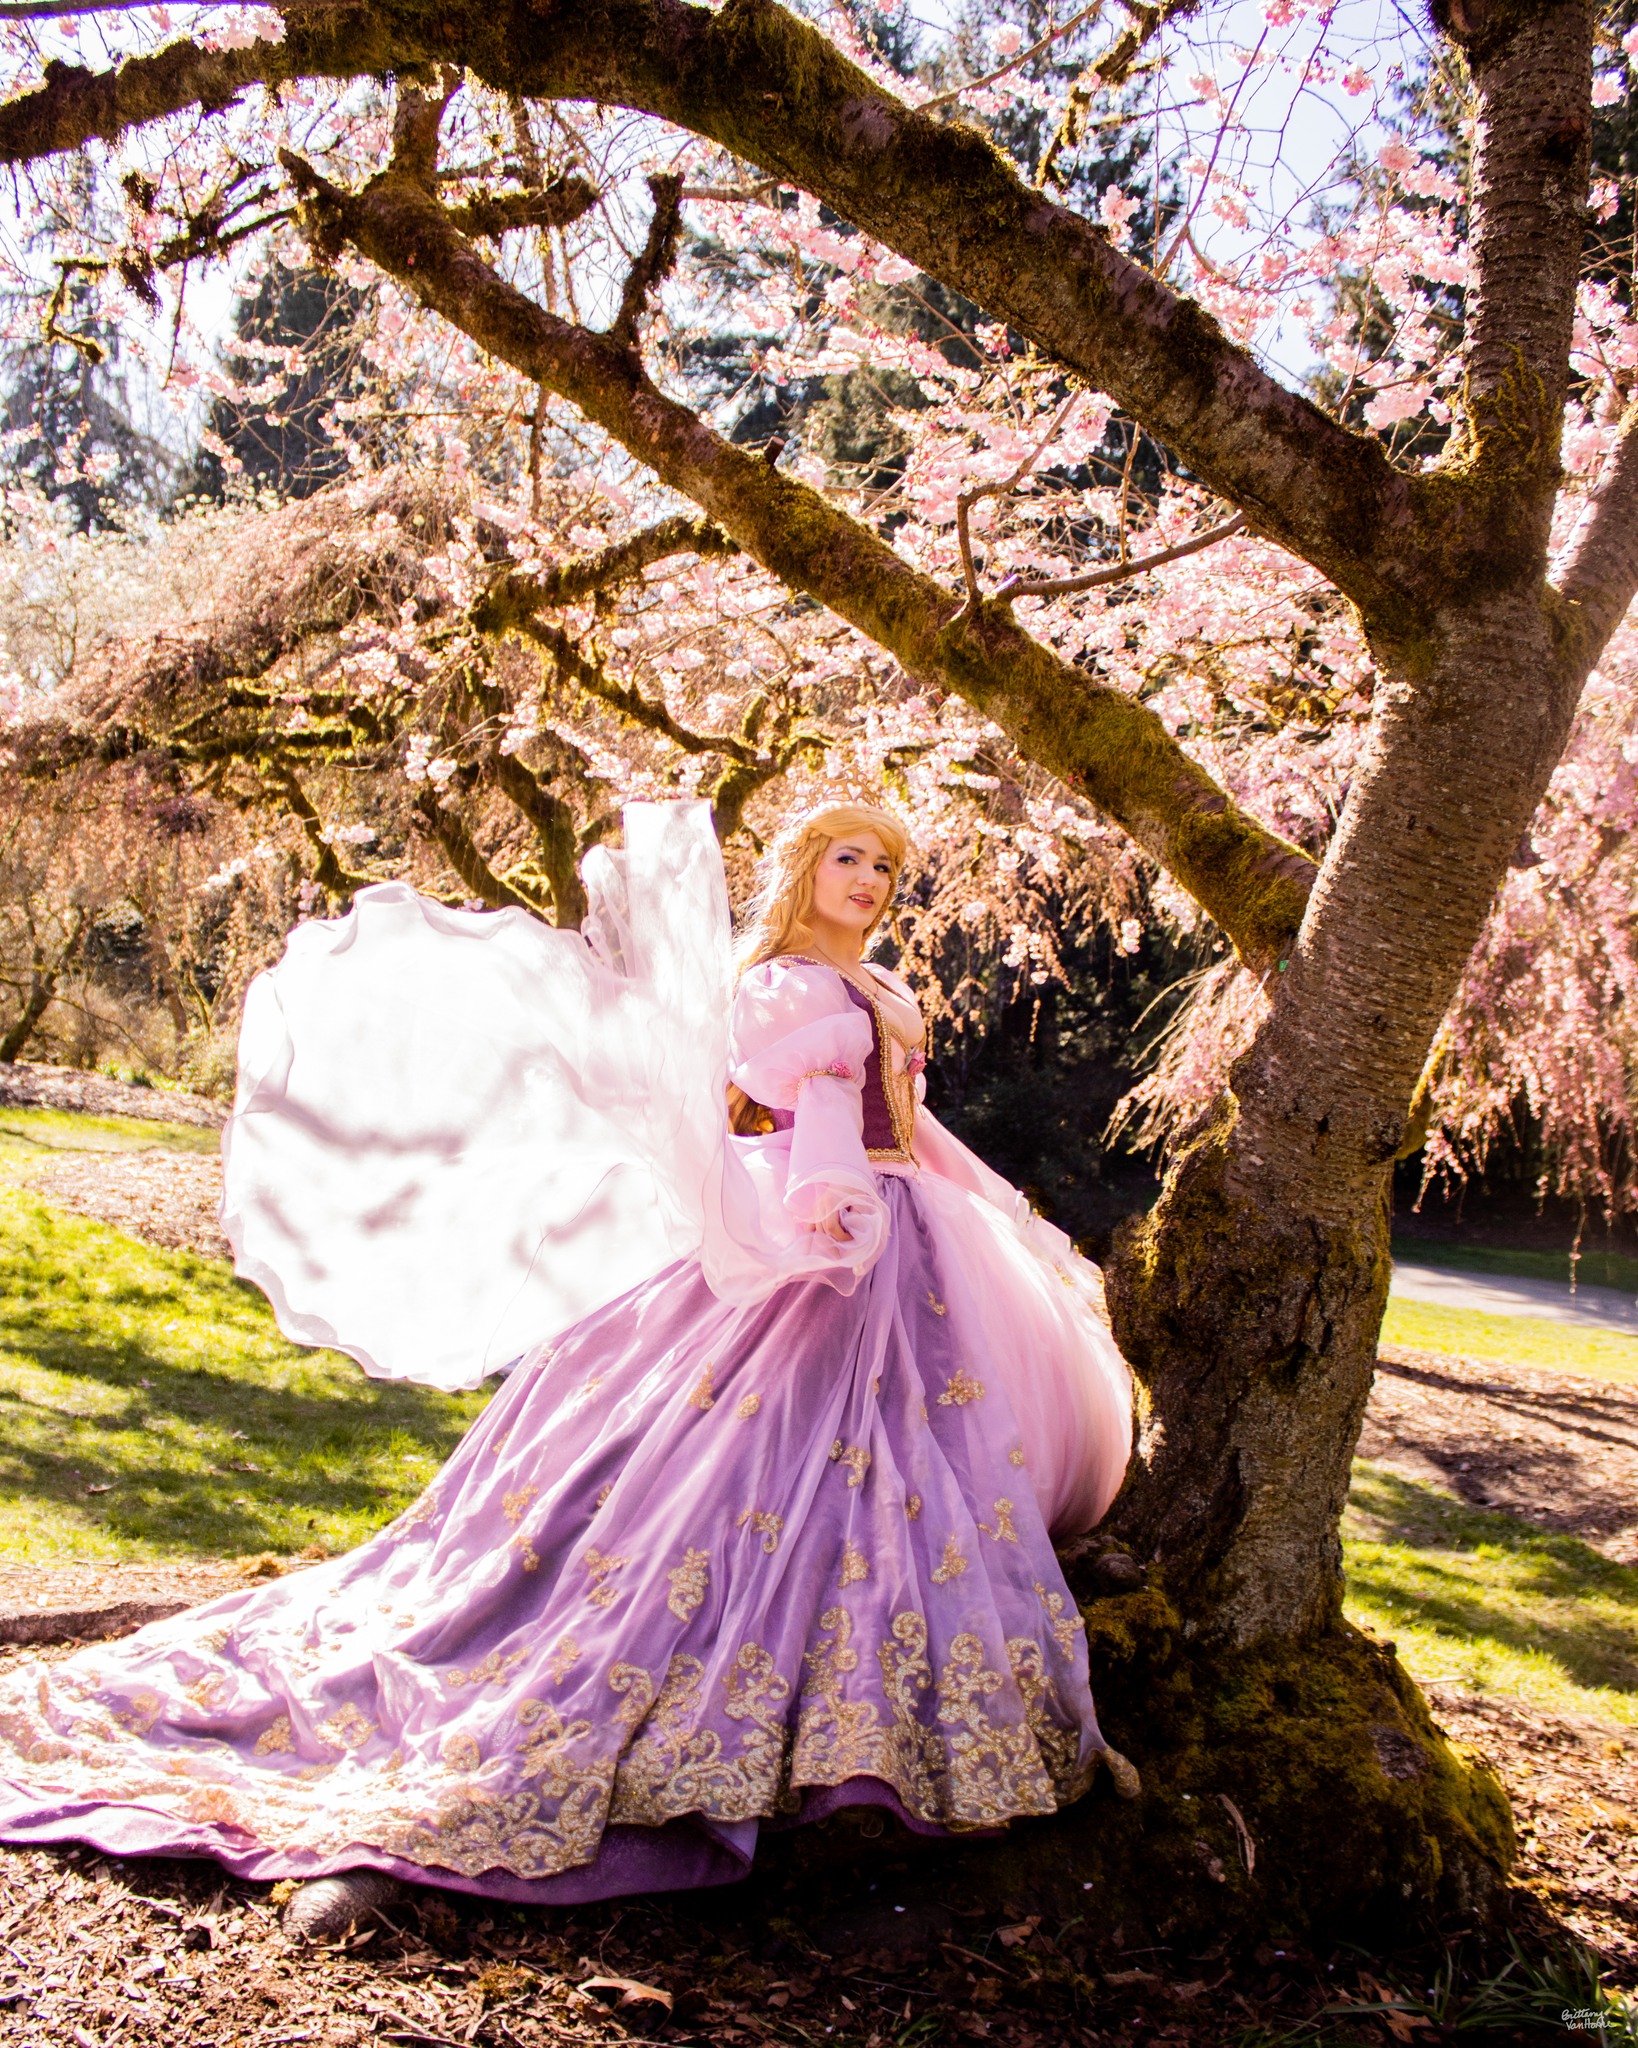
I decided on Barbie Rapunzel in part because I wanted to test out a potential wedding dress silhouette, but the rest of the reason I chose her is because of how the movie played on repeat when I was 5 years old.
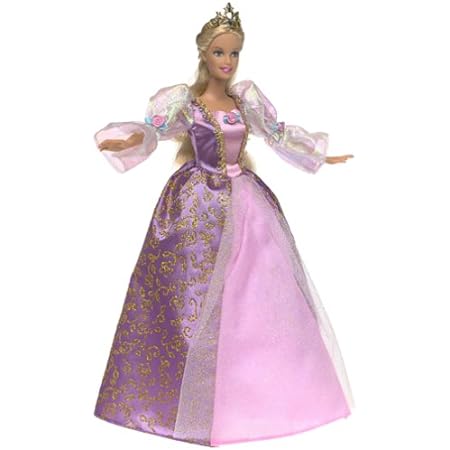
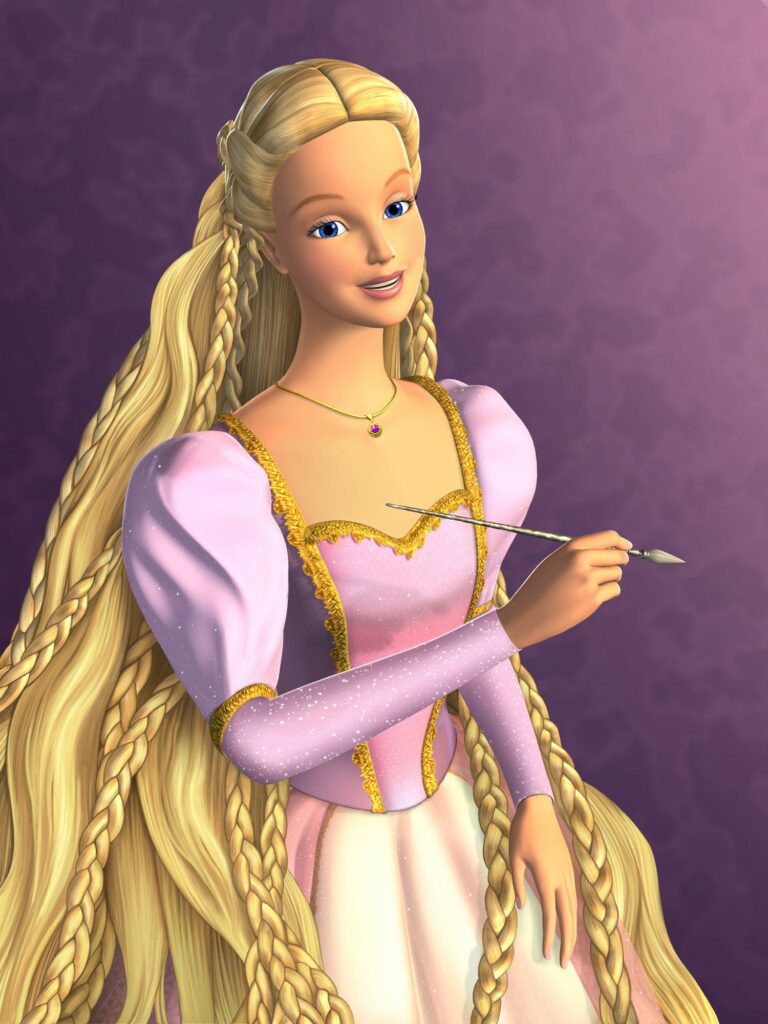
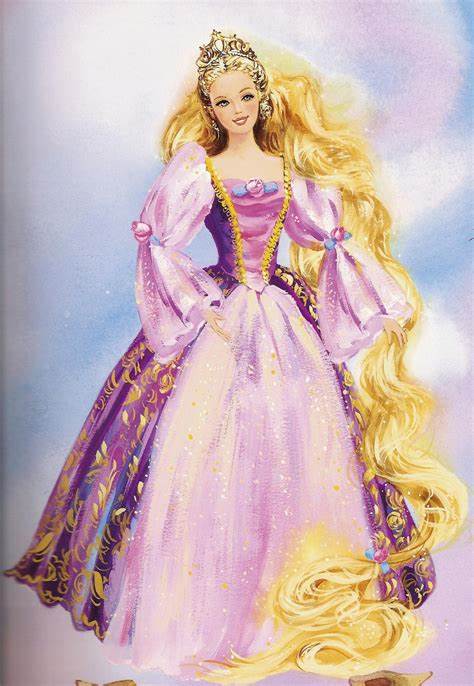
The goal was to combine the three different versions of this dress – concept art, film, and doll – and add my own embellishments where there wasn’t the polygons in the original to spare. The movie dress had always been a let down to me compared to the gorgeousness that was the VHS cover art, so I was hoping to make this the dress I’d always imagined for her.
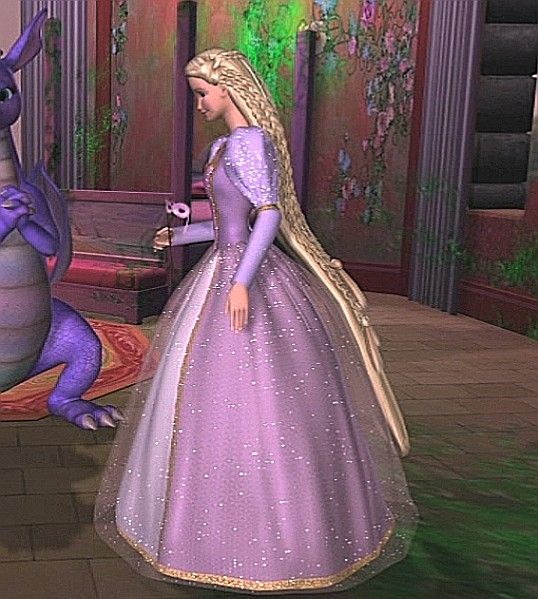
The dress is decidedly fantasy – I debated pushing it into a specific historical decade (I was especially tempted to do an 1830s reimagining), but decided to keep it closer to the source material(s) so I could use all the horrible polyester glitter fabric I wanted.
References gathered, I decided what I liked from each incarnation of her design and sketched it out! I wanted the general silhouette of the concept/movie version with a slightly larger skirt, the glitter from the movie, the bigger sleeves and the rosettes from the concept and the doll, and the gold detailing on the skirt fom that as well.
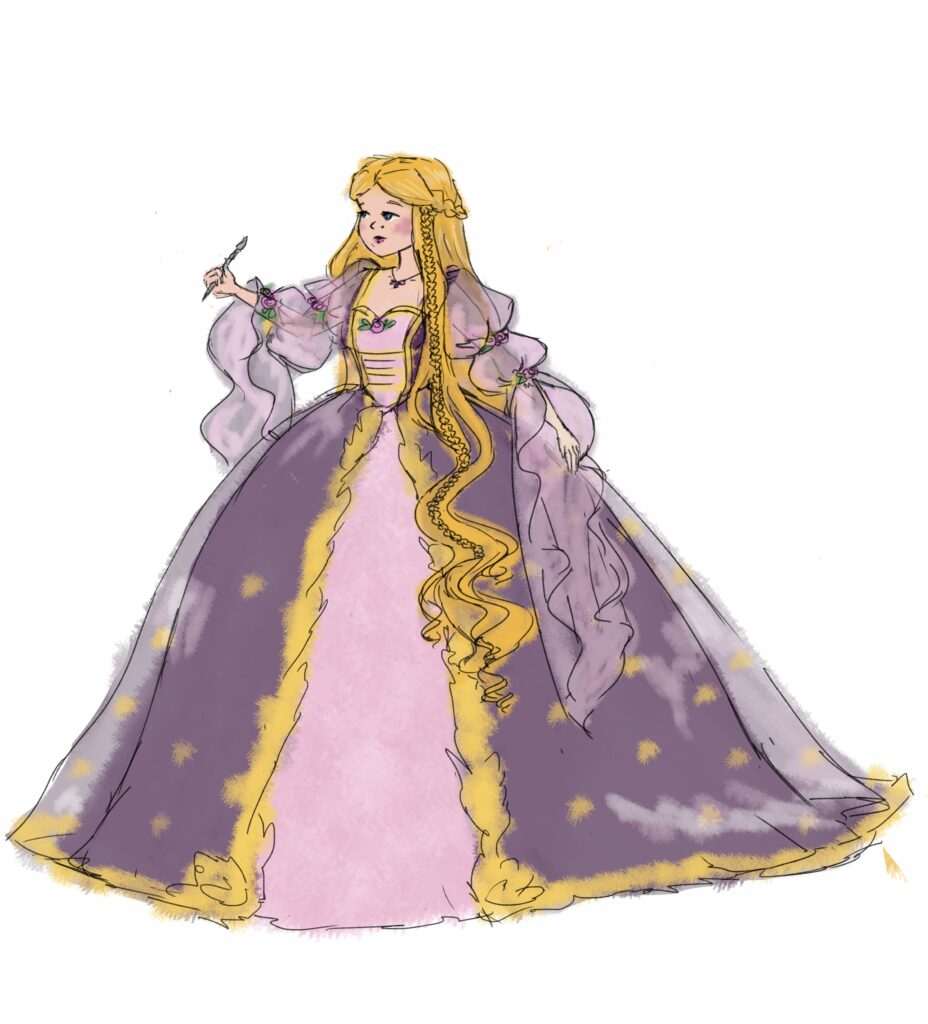
All my college art professors weep at this sketch and regret letting me graduate, but it served its purpose. This ended up being really close to my final product, which always feels good. The only major difference between this sketch and my gown ended up being the number of tiers in the sleeves.
I’ll include a budget breakdown at the end – this is not a budget costume, but it is over 60 yards of fabric and 30 yards of trim and was still under $500 out of pocket. Honestly, that might be the aspect of the dress I’m most proud of.
1.2 – Corset
I’ll be working from inside to out for the build log rather than chronologically, so I started with the support corset underneath.
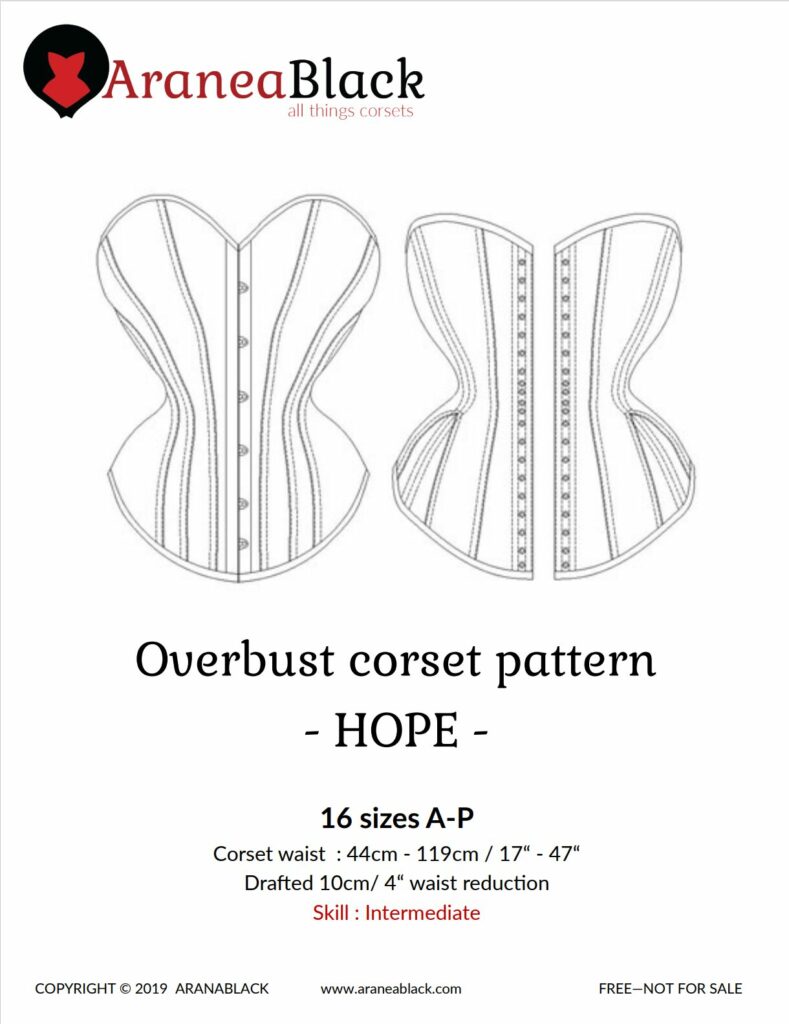
I based this off of Aranea Black’s Hope corset pattern. In my mockups, I adjusted the sizing down a bit, edited out the front busk and gores, and shortened the entire garment several inches. I didn’t know exactly how long I wanted the corset (waffled between an underbust and an overbust for weeks), so I couldn’t order an appropriate length busk, and the smooth front corset is a look I prefer anyways.
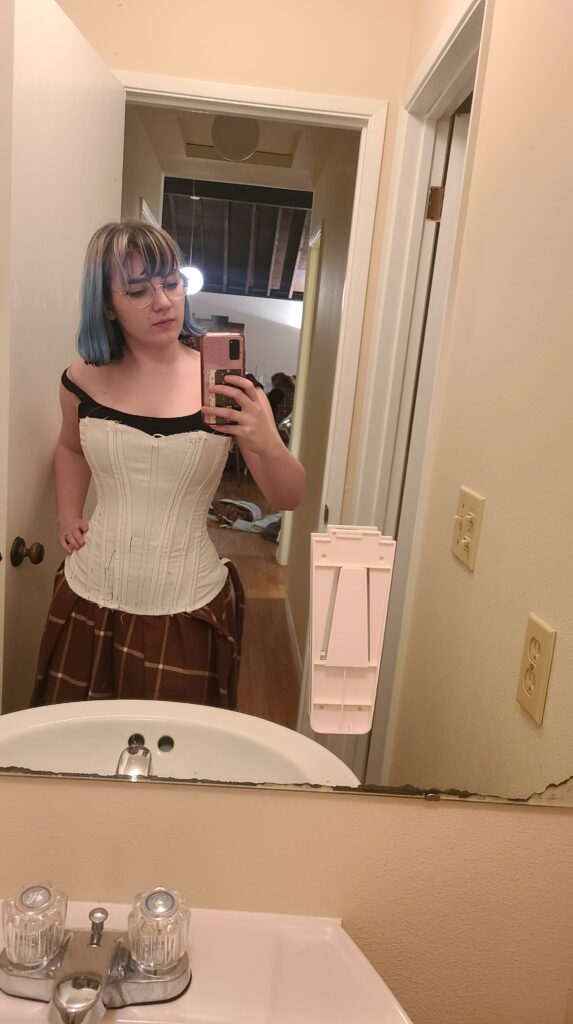
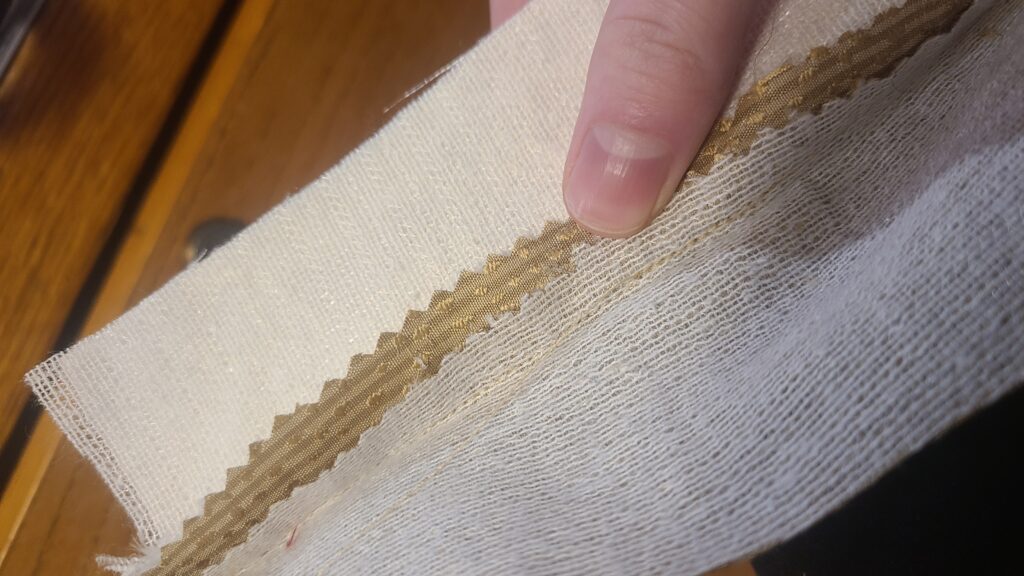
Once the mockups were sufficient, I cut the final fabrics – a cream brocade I got in a fabric swap I did with my friends, and leftover gold silk from my historical Rapunzel Cranach gown back in 2018. I interfaced the fabrics for extra strength, and the corset came together really quickly. I used double welted seams, a first but new favorite for me, which come together really quickly but are really difficult to alter sizing on, so I was really glad I did two mockups.
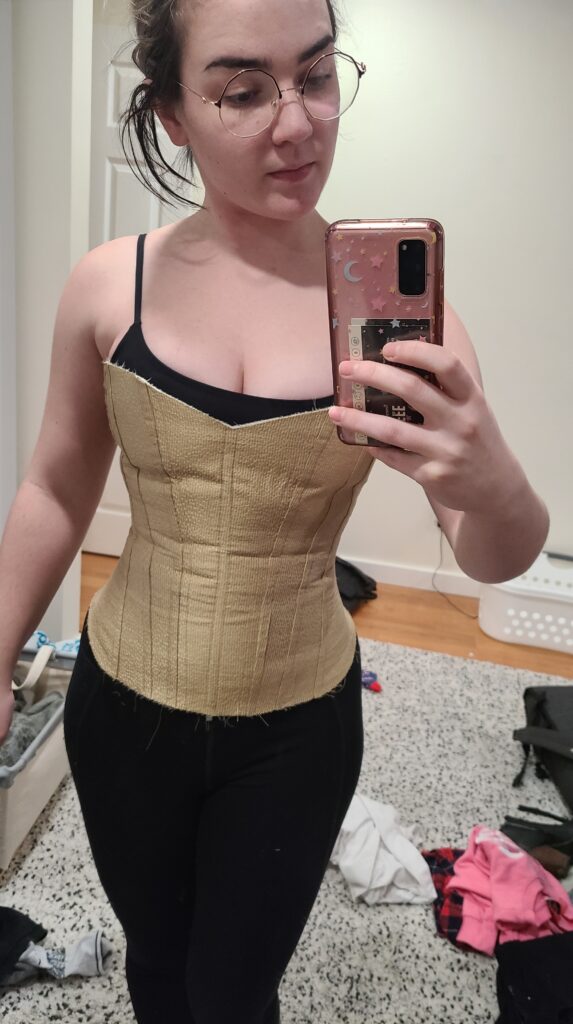
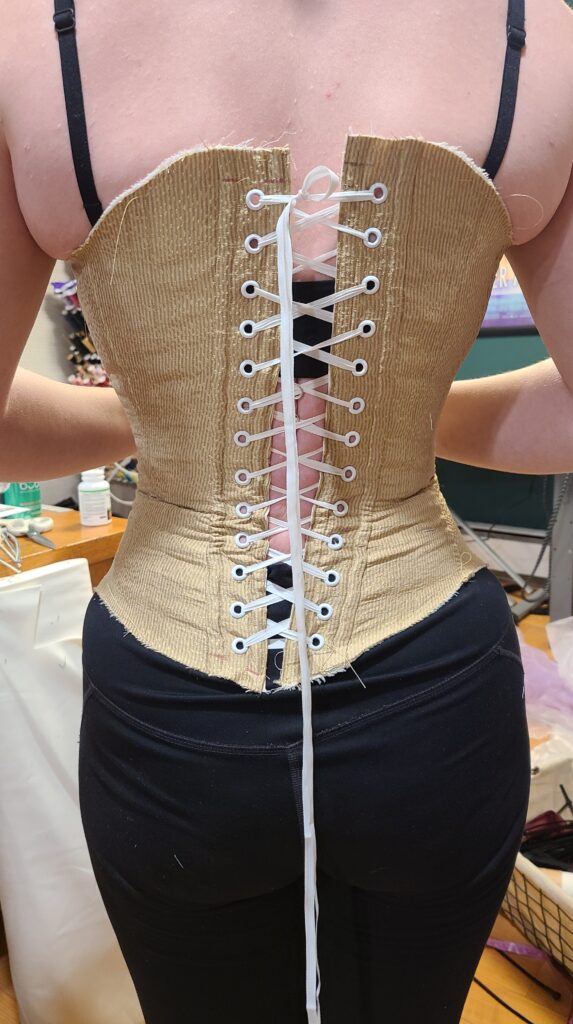
I boned it with a mixture of spiral and flat steel and used 0 size grommets for the back. These grommets were determined to pop out, so I’ve already replaced quite a few of them, but they seem to be reasonably well set now. I don’t know if my fabrics relaxed significantly or if I lost a little weight, but I sized it with a 2-3 inch lacing gap and ended up fully closing it at ECCC.
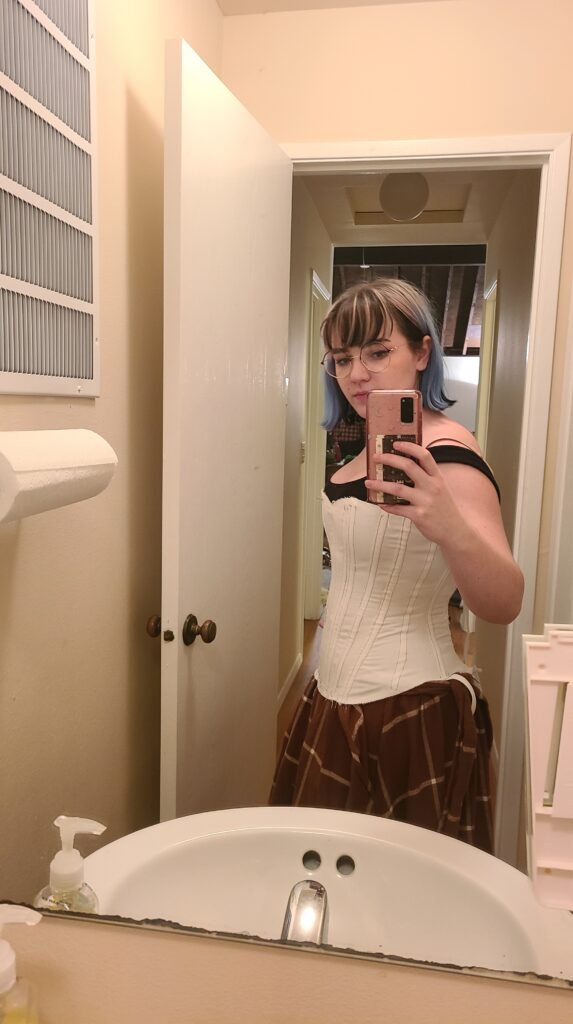
Once all that was done, I made up some bias tape out of the silk and hand finished it with a whipstitch onto the top and bottom. It ended up being a really nice piece, even if the back is determined to go diagonal. Please excuse the absolute grease monster I am in these photos – I realized two days before con that I didn’t have any photos of the final piece, so I was deep in crunch for these.


1.3 – Hoopskirt and Petticoats
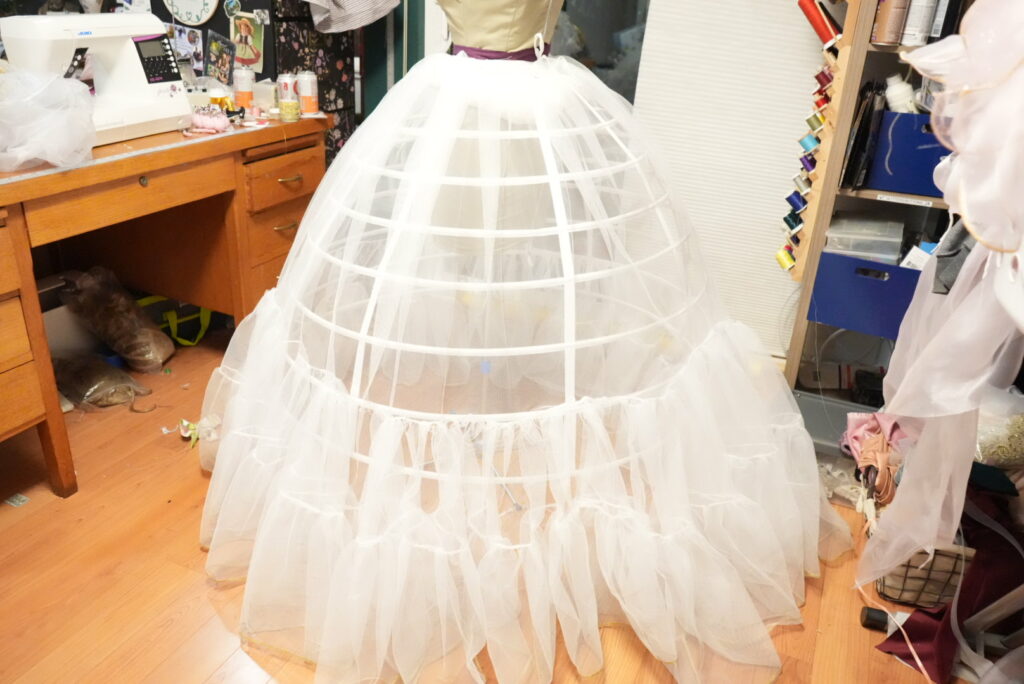
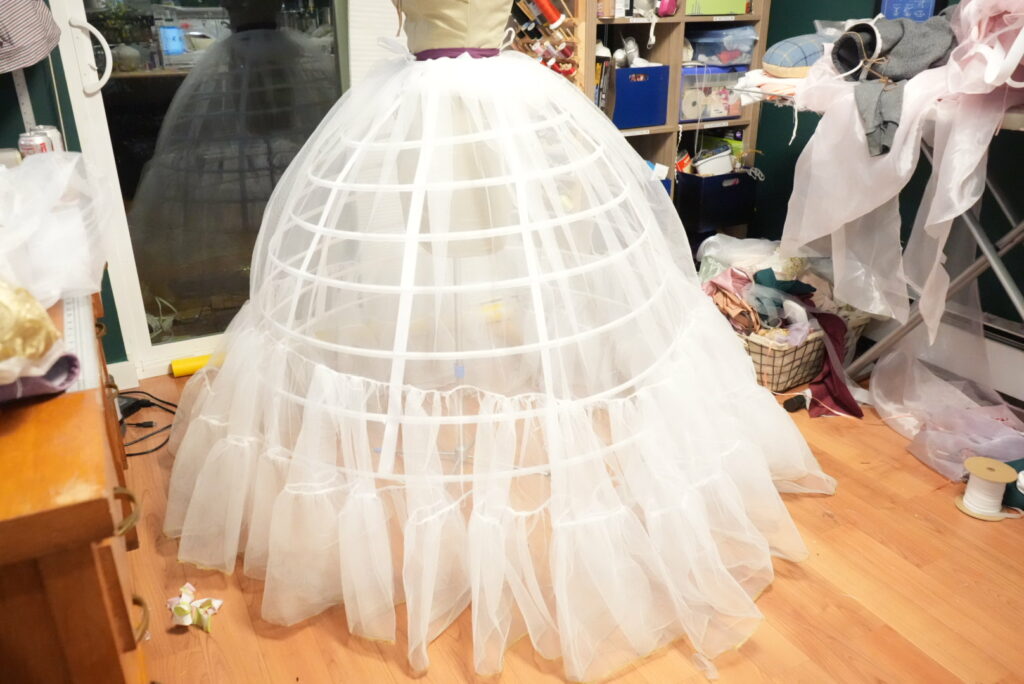
I actually made this hoopskirt in September, but I knew that if I ever decided to compete again, I was going to need a really well done hoop, and I also knew that the Amazon one I’d been relying on was begging me for the sweet release of death.
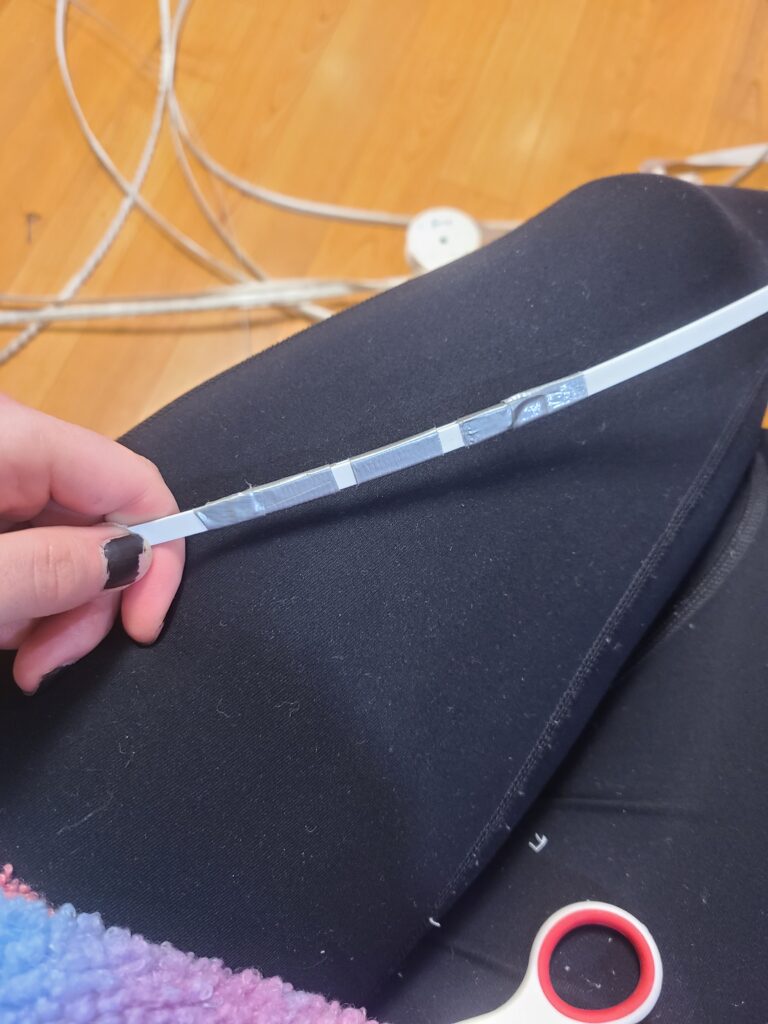
I started with a thick waistband made of purple cotton and set some eyelets to keep it adjustable, then took the hoops out of my old hoopskirts and vaguely approximated the dimensions of the old one. Each hoop channel got 2 pieces of boning for extra strength, and they were tipped and joined with good old fashioned duct tape.. I have some heavy dresses and have experienced the nightmare hoopskirt collapse, so the extra weight was worth it.
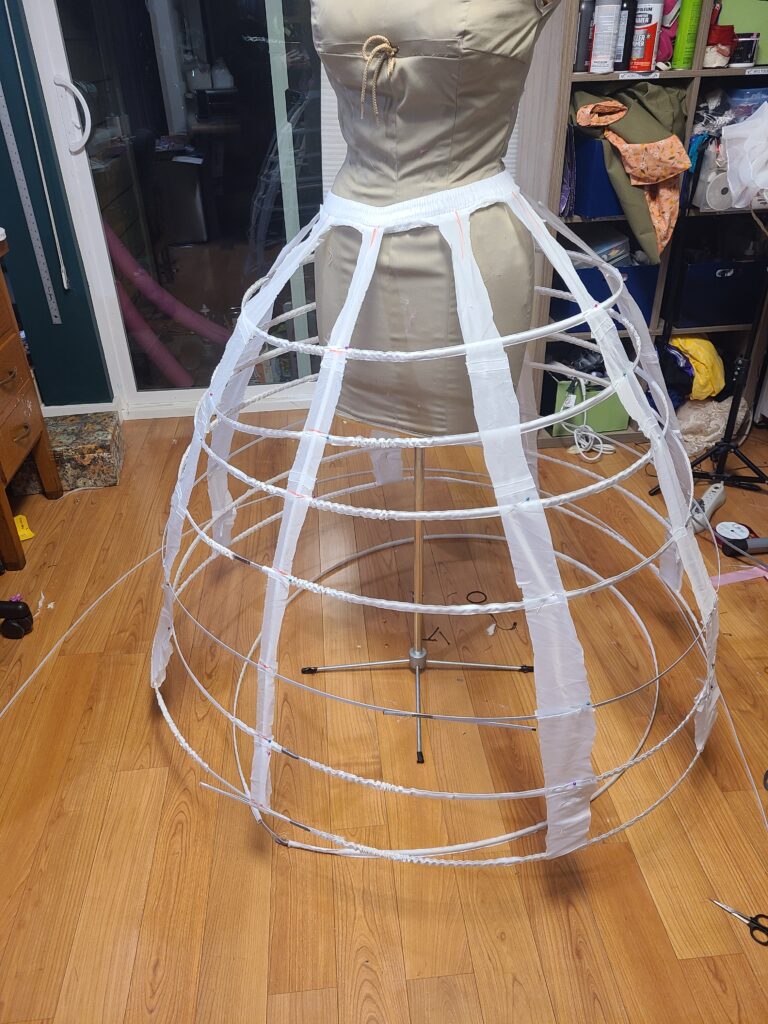
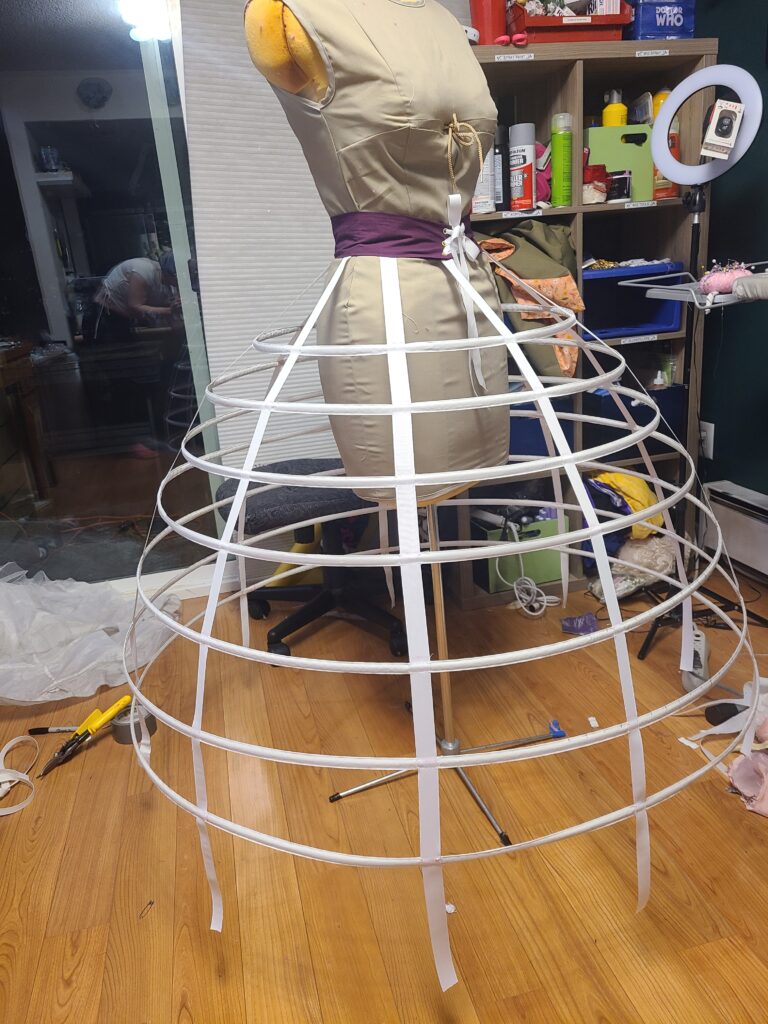
It’s nice to have a hoopskirt that’s actually the right length for me – I’m fairly short, so factory ones are too long – but it did also end up being about 10% bigger than my old one. No worries, since I make all my skirts extra fluffy, but definitely a point of anxiety until I tested out a few.
I marked out to the 8ths on the hoops to help line them up on the ribbons, but most of it ended up being kind of by eye. Once they were pinned and everything looked even, I hand stitched the hoops to the vertical support ribbons from smallest to largest.
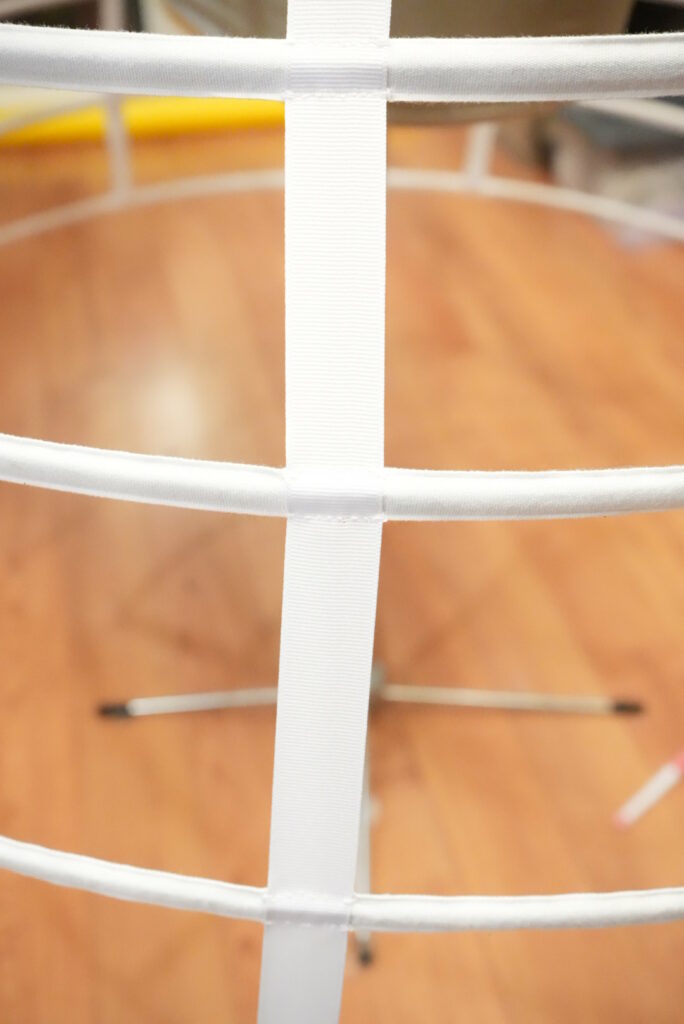
Could I have done that on the machine? Yeah. Honestly, I was so scared of bumping it and throwing all my pinning off that I didn’t want to risk taking the hoops on and off my dressform. It didn’t end up being too much work, but it did make my fingers sore by the end of the weekend.
Both my petticoats for this project started their life as a wedding dress. The first one, made of the stiff tulle, was made of fabric seam ripped out of an A line dress and then cut into long, rectangular strips like most any standard tiered petticoat. Everything got french seamed, and I used some twill tape already in my stash for a quick, easy waistband. I knew it was going to be important to minimize bulk in the waist area, since I was going to have 6 skirts in this costume. I also made it slightly asymmetrical with more length in the back so I wouldn’t step on it (I stepped on it anyway)
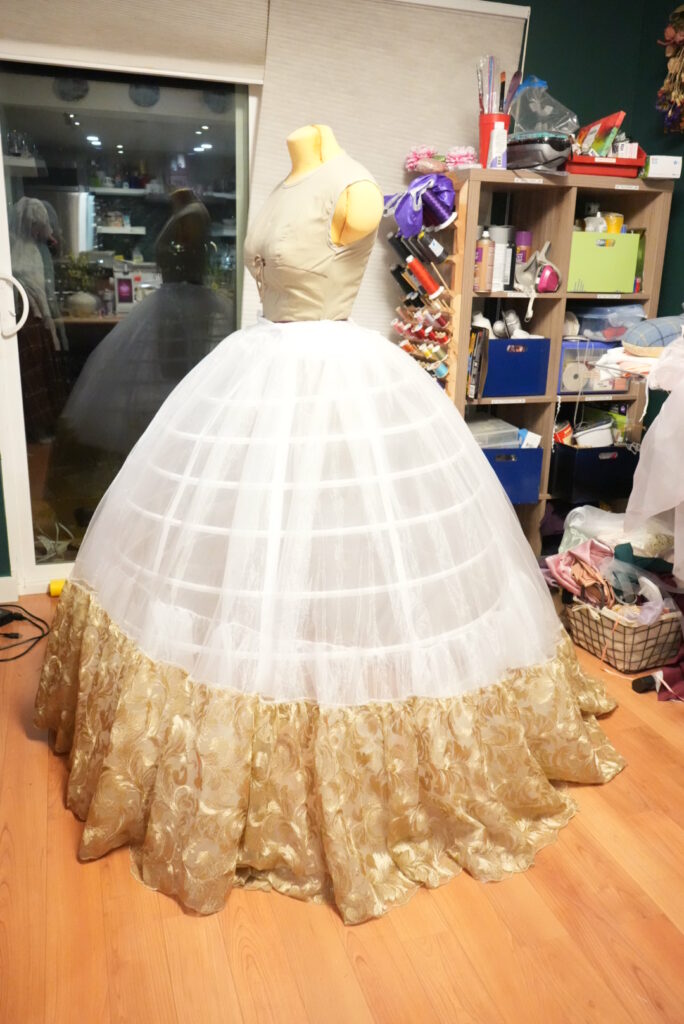
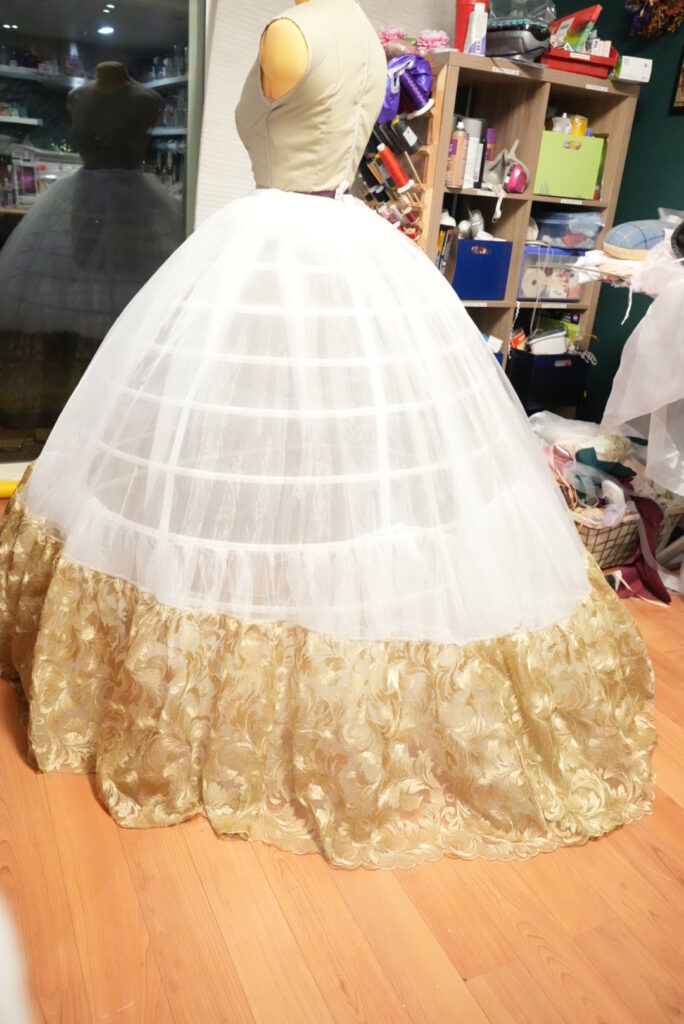
The organza petti contains the greatest sin I have in this costume – the right side is longer than the left. I safety pinned it up so no one would notice for the contest (embarrassed emoji)
How did this happen? It was probably how the fabric settled after I sewed the gold lace fabric onto the bottom – I assumed since it was already cut into a circle skirt that I didn’t need to let it hang, but I’m pretty sure the extra weight did me in.
So the organza petti is a slightly lopsided ¾ circle skirt, pleated at the waistband, and finished with leftover gold lace fabric from my 1996 Holiday Barbie I ended up not using for the project. I gathered the lace slightly – working with leftover fabric, I wanted to use all of it, but I didn’t have quite enough to do the traditional 2x or 4x length for tiered petticoats. It was more like 1.5x, but the result is nice enough regardless that I’m not upset about the outcome.
I met a new friend at ECCC, a very seasoned competitor and judge, who told me “When I judge, people always ask me how I suss out what the novices and journeymen are hiding, and I’ll tell you – it’s never the novices or the journeymen. With them, it’s always out in the open. Now, the masters – y’all are sneaky! And I’ve been sneaky too, so I know!”
That pretty much sums up why I didn’t fix the skirt. So, ECCC judges, consider this my confession. My deepest, darkest Barbie Rapunzel secret, hidden smack dab in the middle of a 6 skirt sandwich where I knew y’all wouldn’t have the time to get all the way into in a 5 minute prejudging slot. I’m very sorry, and it weighs deeply on my conscious every day.
Things to fix in the future – I may add one more hoop onto the bottom of the hoopskirt. Currently, the bottom one has a habit of scootching up, so I want a little more weight and structure down there to keep it down. I will also finally go back and fix the organza petticoat at some point.
1.4 – Chemisette and Bum Roll
These were actually the last things I made for the dress quite literally two days before con. I wanted a slightly bigger bum roll to better balance the weight of the overskirts (to middling success) and needed a lower cut underlayer.
I made both out of an old bedsheet – if I’d had more time, I probably would have dyed the chemisette pink to match the under dress in case it shifted and became visible (surprise! That happened at my photoshoot post con), but in the ECCC crunch it was not a step I had time or energy for.
The chemisette was based off an old cami I have, and just two pieced cut on the bias. The top has a facing understitched down and I made some spaghetti straps to keep it on.
I also didn’t factor in quite enough room for my hips, so I ended up doing side slits up to the top of my hips. I’ll probably go back into this and just hem off the bottom and make it just a top instead of the half dress it currently is.
The bum roll was based off the one already in my closet. I got a bum roll pattern from Scroop, but again, at this point in the build, I was out of time and energy, and just went with the big ol’ crescent moon stuffed sausage approach and eyeballed the whole thing.
No pics of these, because they’re icky and I don’t like them very much, but they’re serviceable.
So there’s the undergarments! Pop over to the next post to talk overgarments 🙂
Leave a Reply