3.0 – The Pockets
Pockets –
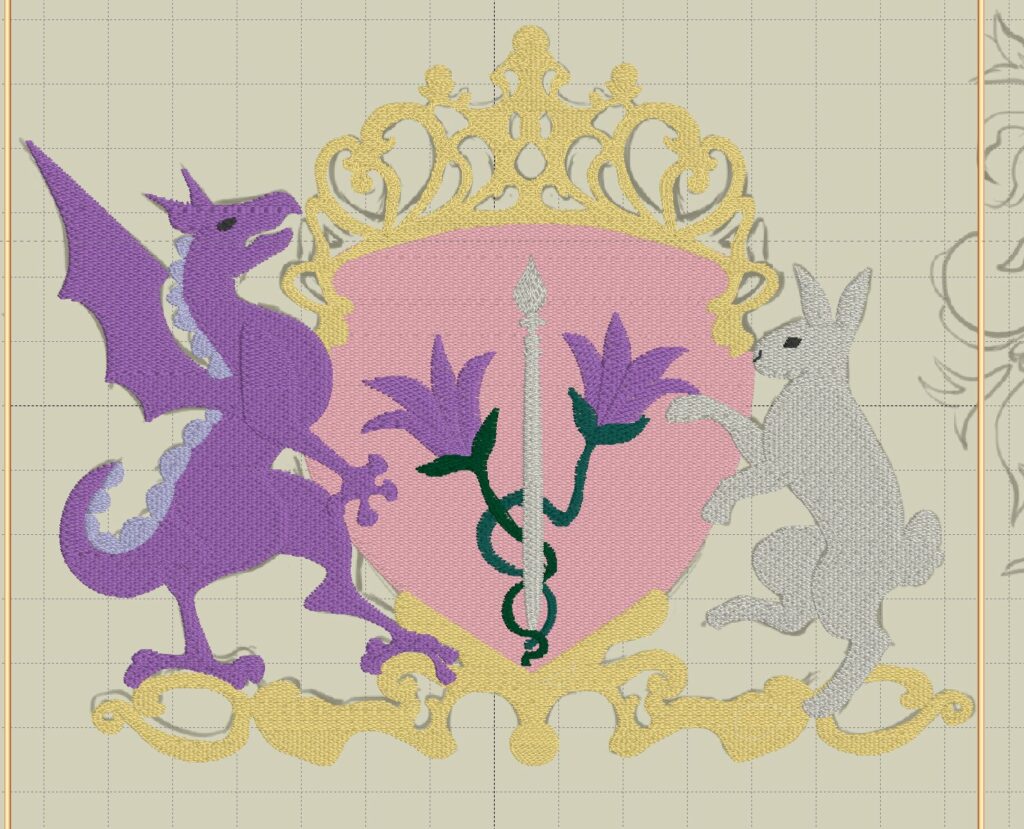
I made these with the same fabrics as the corset so they match! These pockets were my first foray into machine embroidery! I bought myself a used Designer Diamond way back in 2020 as a “Congratulations on getting a Big Girl job and graduating college” present to myself, but it sat in the carrying case until just a couple months ago because I didn’t have the space to set it up. After sacrificing a dining room to the sewing gods, I finally have dedicated desk space for it!
My best friend designed a heraldic crest for Rapunzel incorporating her two sidekicks, Penelope the dragon and Hobie the rabbit, as well as her paintbrush, crown, and Rapunzel flowers. I digitized the design in Embrilliance and stitched it out on my embroidery machine. This took a lot of trial and error, and I ended up completely redrawing all the gold items in the design to be column satin stitches instead of fill stitches. Major thanks to @erikaalamode, who helped me troubleshoot and bestowed me with all the machine embroidery wisdom a girl could ever wish for.
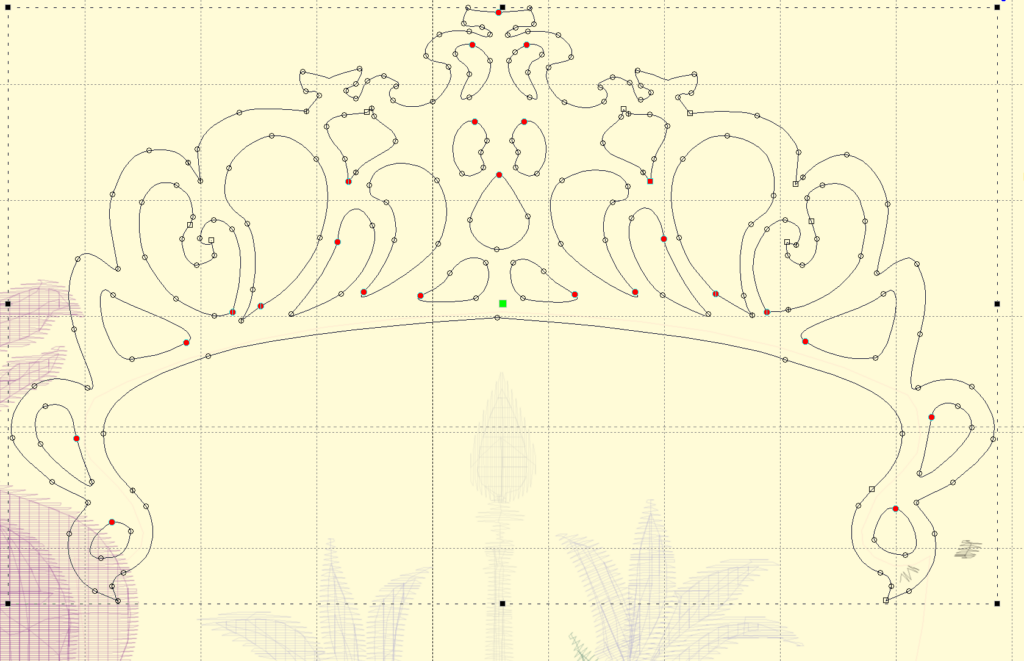
During this process, I learned my machine is an old model of the Designer Diamond that doesn’t have a backstop in the takeup lever to keep the thread from slipping out, so I ended up threading the takeup lever from left to right. It felt illegal, but it worked like a charm! My normal maintenance shop told me that the next time I bring it in, they can make a note to replace the take up lever with the new model, but for now, function is function.
The Barbie logo on the other pocket is from 2002, they year the movie was released, and I digitized that as well in about 20 minutes and it stitched out perfectly first try. I’m at the peak of the Dunning-Kruger effect on machine embroidery, so no one ruin this for me.
3.1 – Rosettes
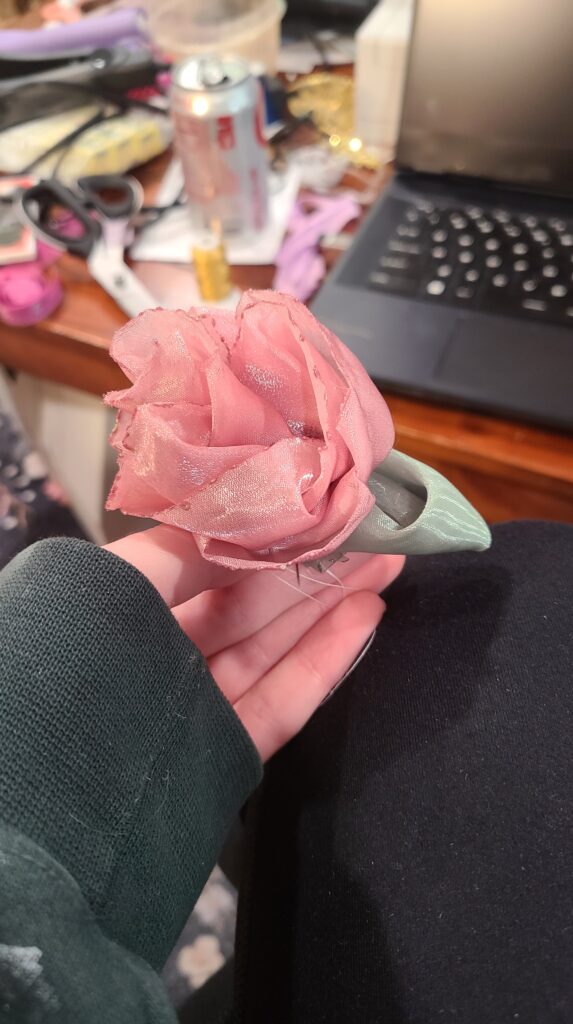
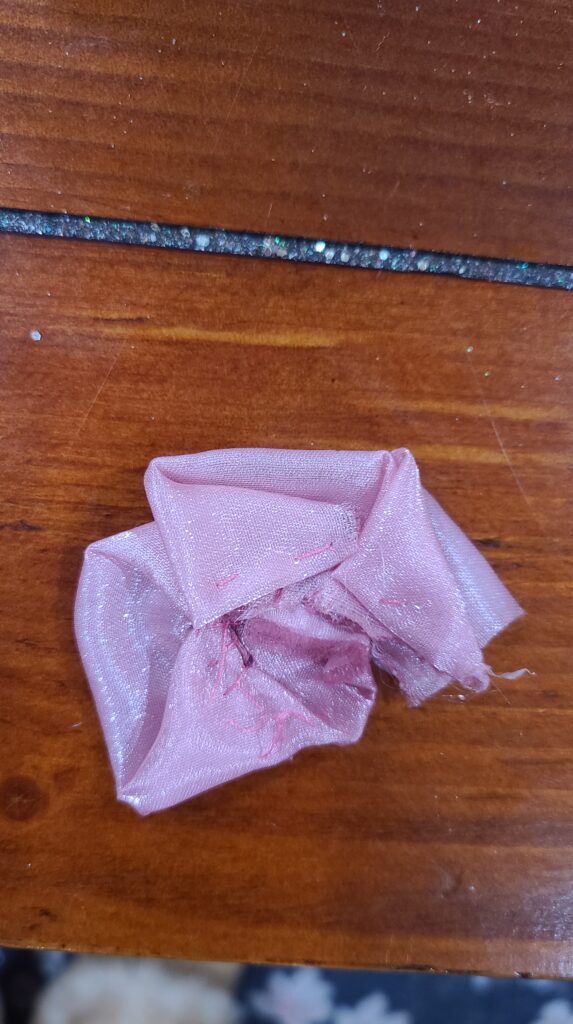
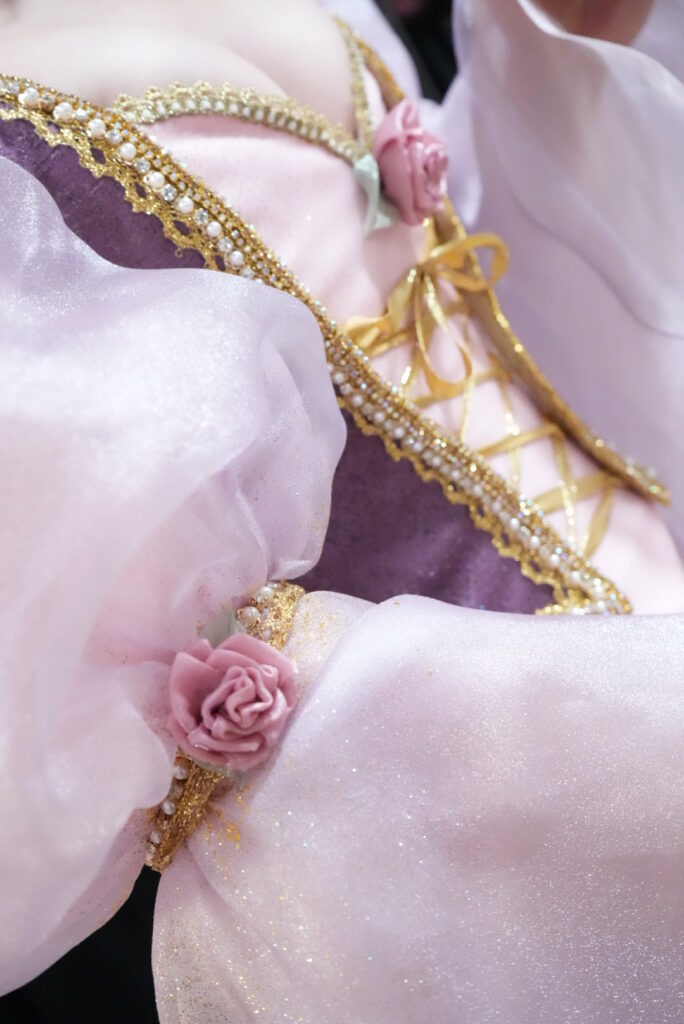
I folded the rosettes using metallic organza and this method I found on youtube – 🧡TUTORIAL HOW TO MAKE EASY AND SIMPLE ROSES FLOWER FROM ORGANZA RIBBON🧡DIY ORGANZA RIBBON ROSES🧡 (youtube.com) Somehow, I’ve already lost the exact tutorial I used, but this is the same basic method.
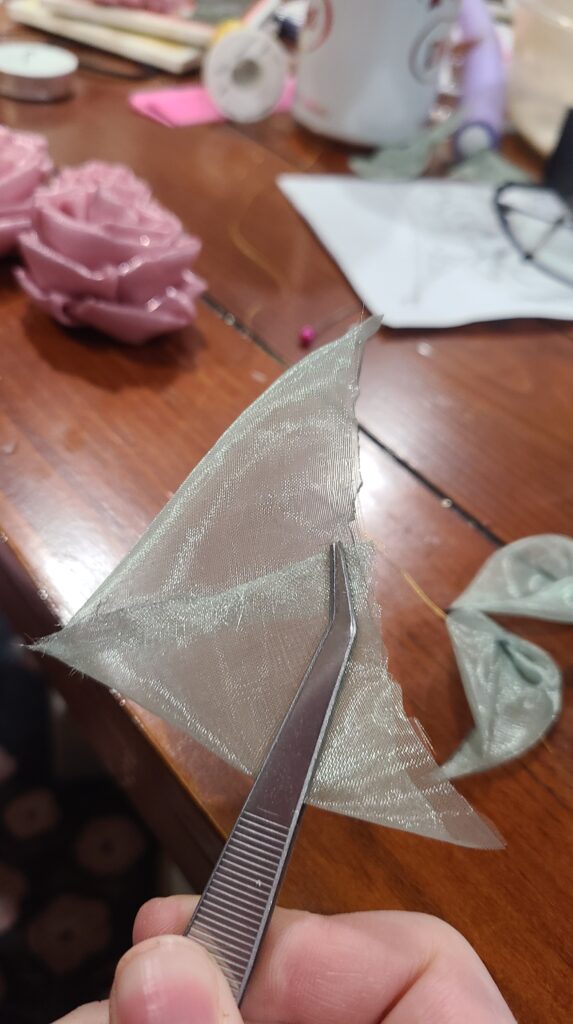
The method is designed for ribbon, but since there was no decent ribbon in anything even approximating the color I needed, I cut strips of the organza double wide, folded it before starting the rose folds, and melted the organza edge so it wouldn’t fray. The leaves were made in a similar way, and melted together to seal the two halves. Tweezers were absolutely non-negotiable for this, and I learned that real quick.
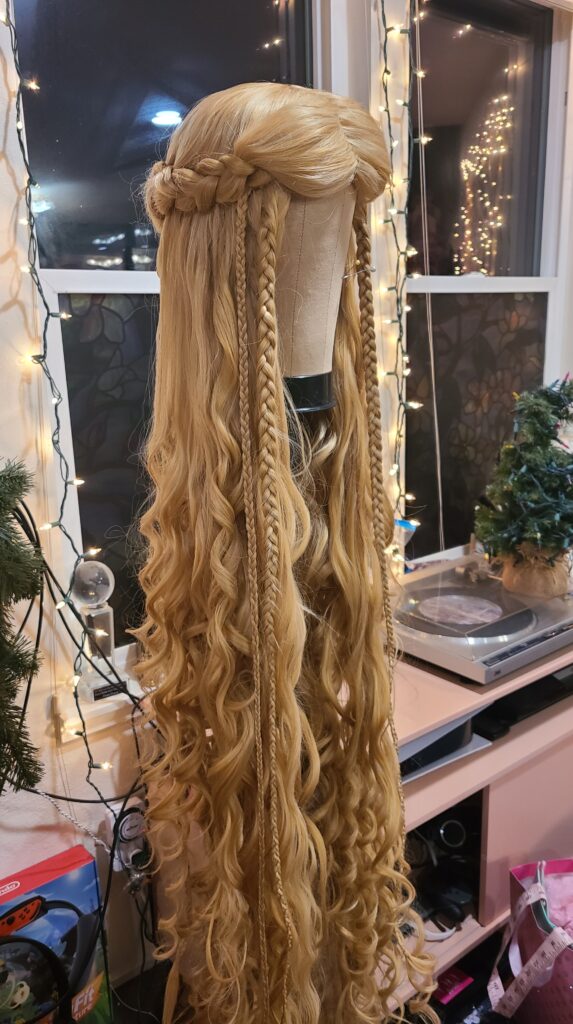
3.2 Wig
I made this wig several years ago for my Historical Rapunzel, but it needed a complete detangle and restyle for this costume, so it was still a 44 hour process to get it ready for ECCC. It’s built out of 3 Arda Ororos, 1 XL curly clip, and 1 pack of XL wefts, all in Pale Blonde.
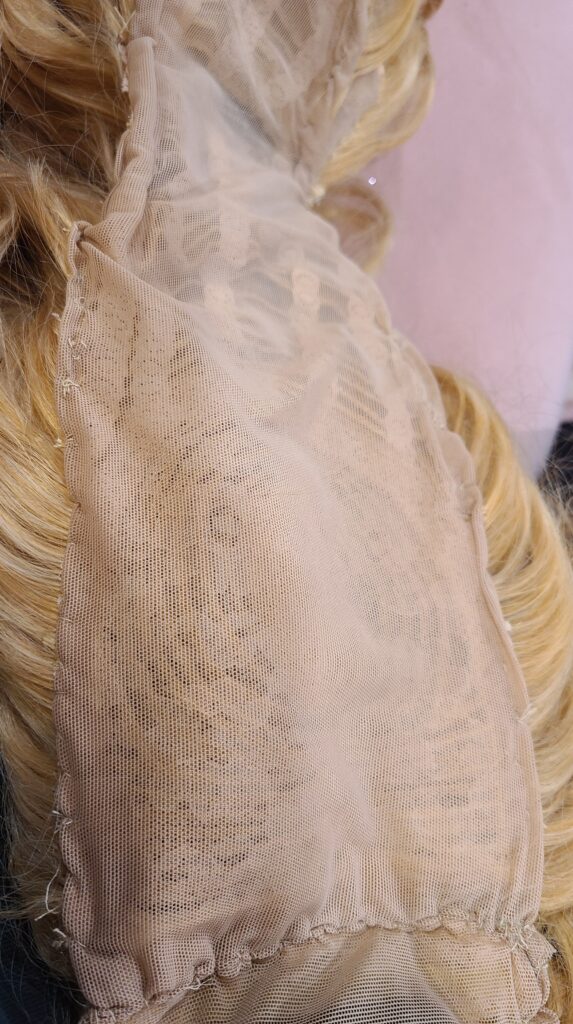
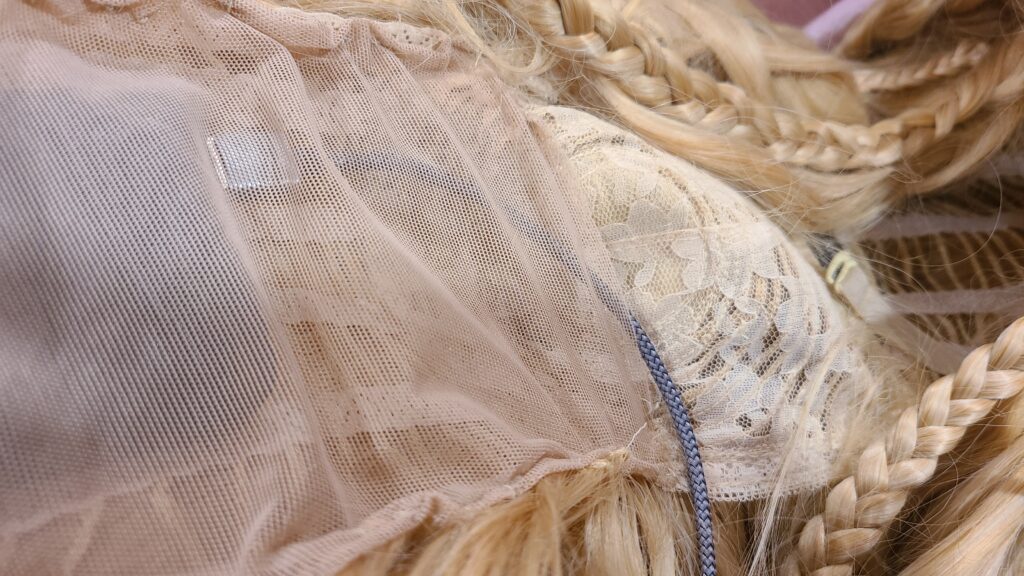
I also learned how to solder so I could add lights into it, powered by a battery pack in the wig. The wefts are covered by a stretchy mesh so they stay clean and untangled. This wig is 5.5 feet long and curled at the ends to harmonize between the film and the concept art. The curls also help mask the ends of the shorter hair. The lights are painted with gold glitter to better hide them in the wig and give a little sparkle even when they’re off. I paid my friend Monty in burgers to teach me to solder.
3.3 Props
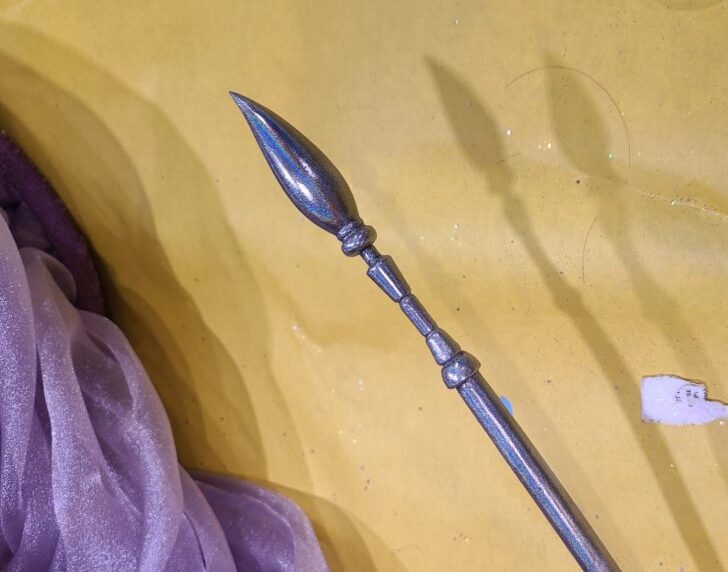
Paintbrush & Necklace –
Modeled in Fusion 360 and printed in resin, then finished with chrome nail powder. Pro tip: if you’re going to finish something with chrome nail powder, it absolutely needs a top coat. The brush had a dark spot immediately. It also broke about 2 minutes after I went off stage, which was pretty expected, honestly – such is the risk of a super thin, unreinforced resin print. It got the job done, but v2 will definitely be better.
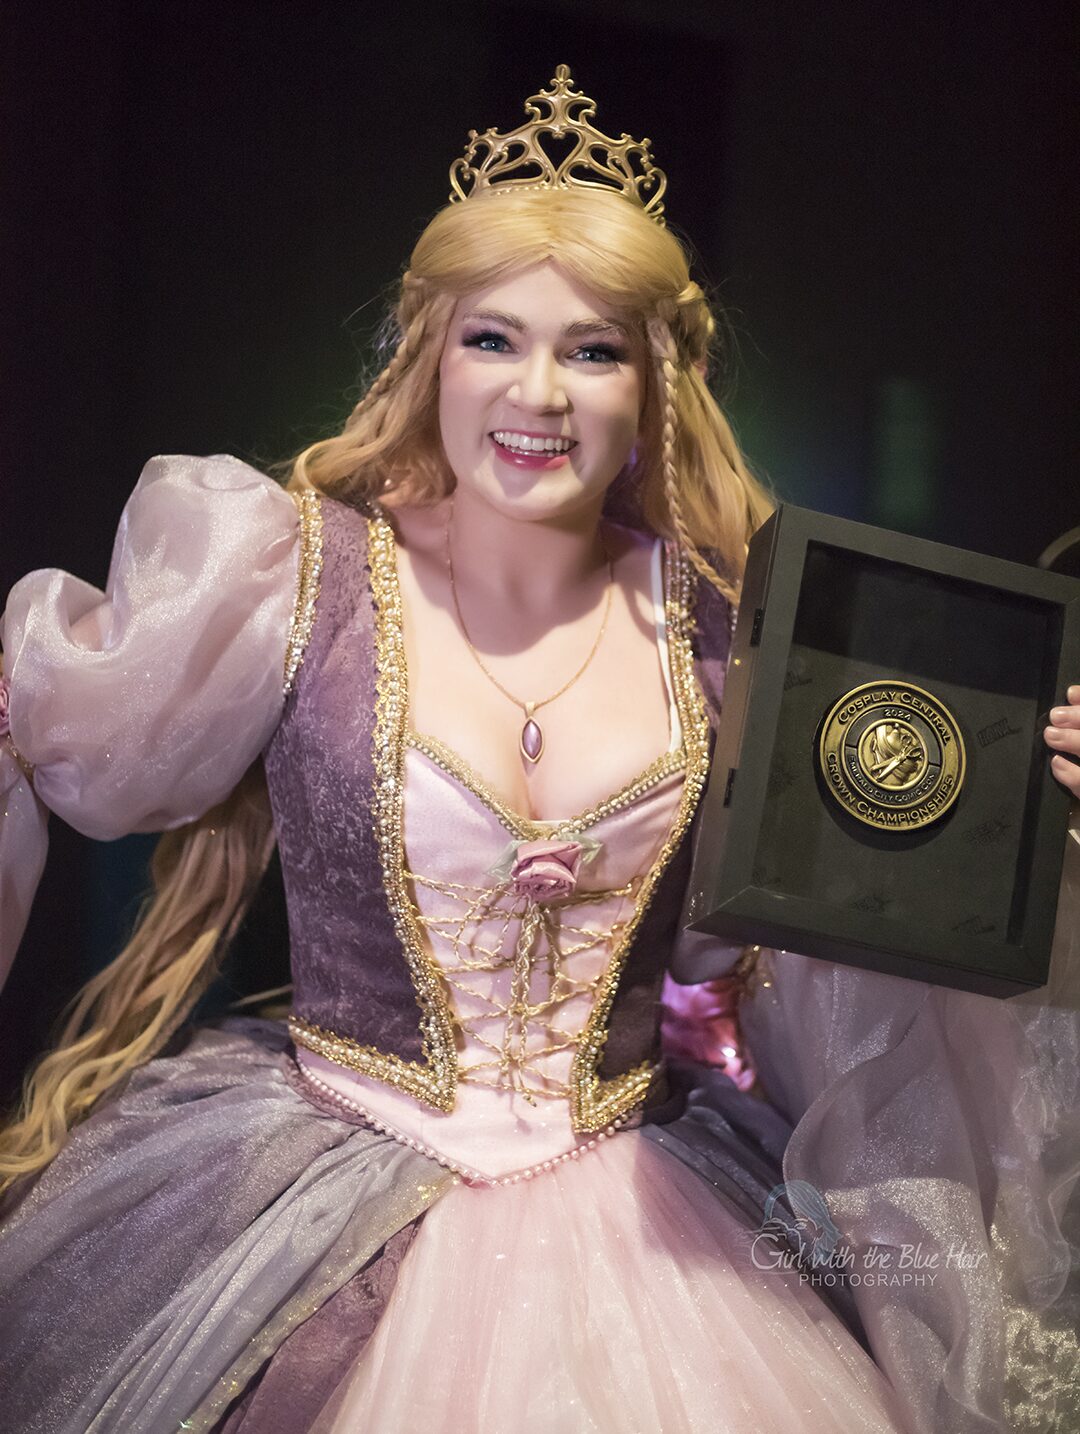
Crown –
Modeled in Blender, resin printed and finished with chrome nail powder. This crown was an ass to model. Every single piece of art had the crown rendered in a different way, and it’s the worst combination of hard surface and big swirly modeling. I tried about 4 different modeling techniques and 2 different softwares before I settled on a “Good Enough” version. Even my coworker, who does 3D modeling for his entire job, grimaced when he looked at the reference. Once it was spray painted, it got sewn into the wig for security.
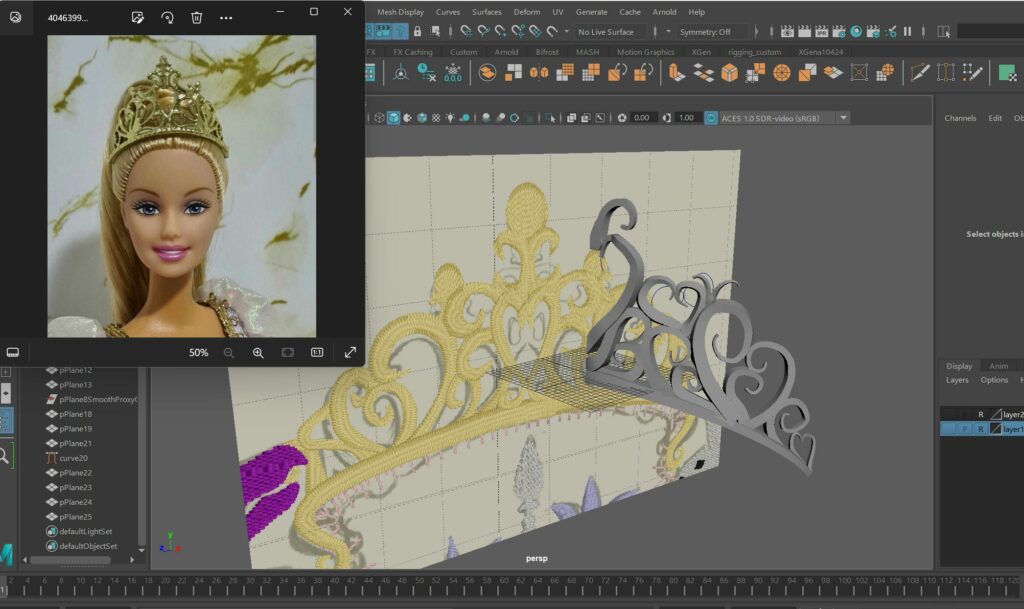
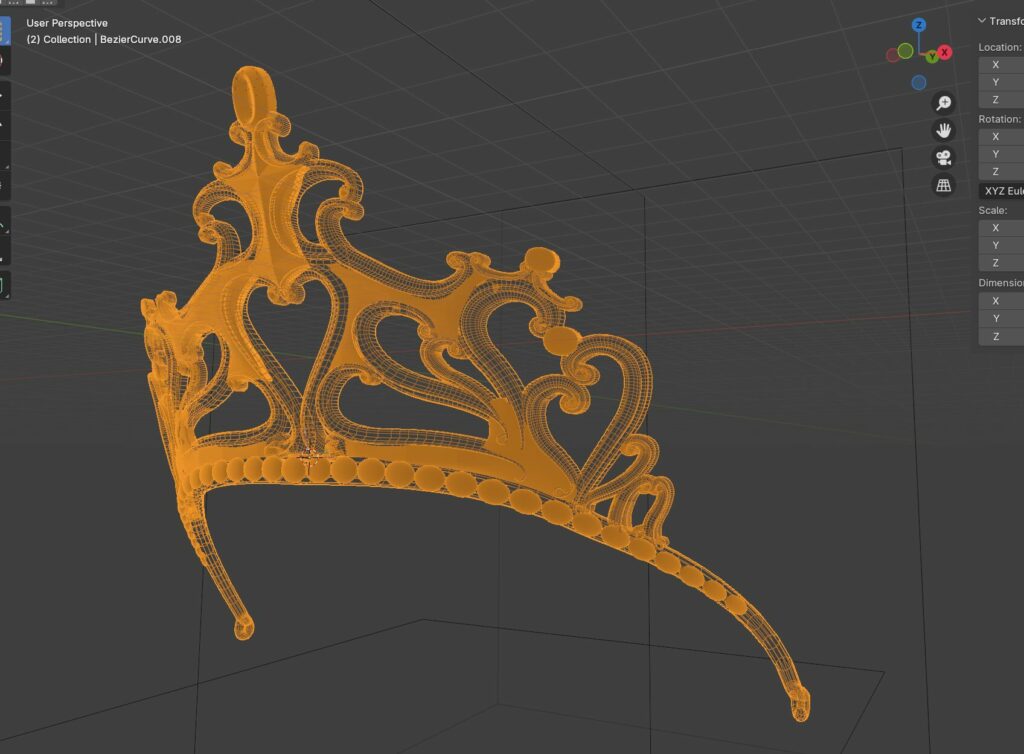
I might try to remodel this in the future, but I can’t say it didn’t do the job.
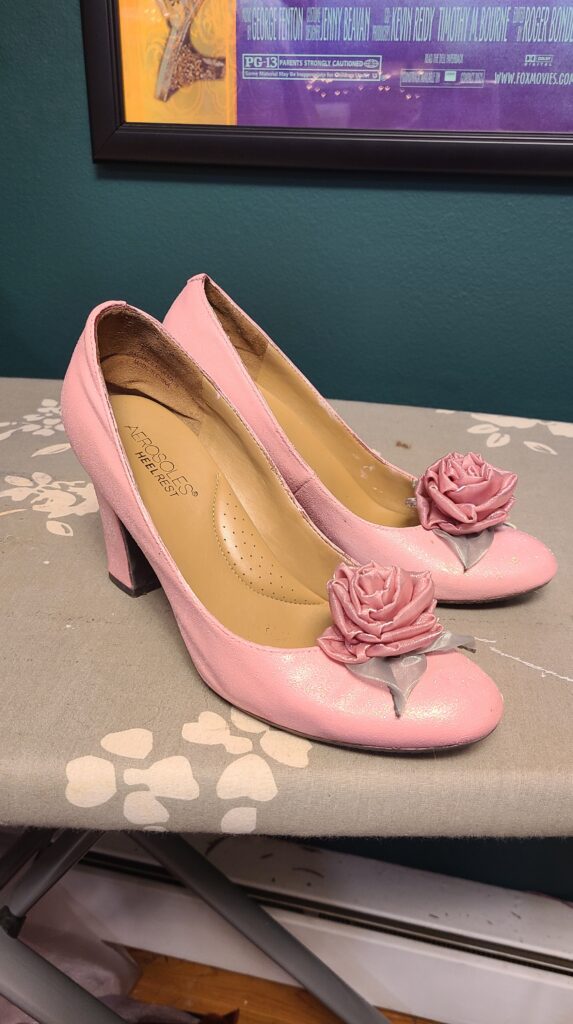
Shoes –
These shoes are my favorite part of the entire dang costume. Super simple process, just Angelus leather paint and a little glitter.
Final Touches:
The night before con, I slapped a bunch of fabric mod podge on the sleeves and the edge of the overskirt and sprinkled glitter all over them.
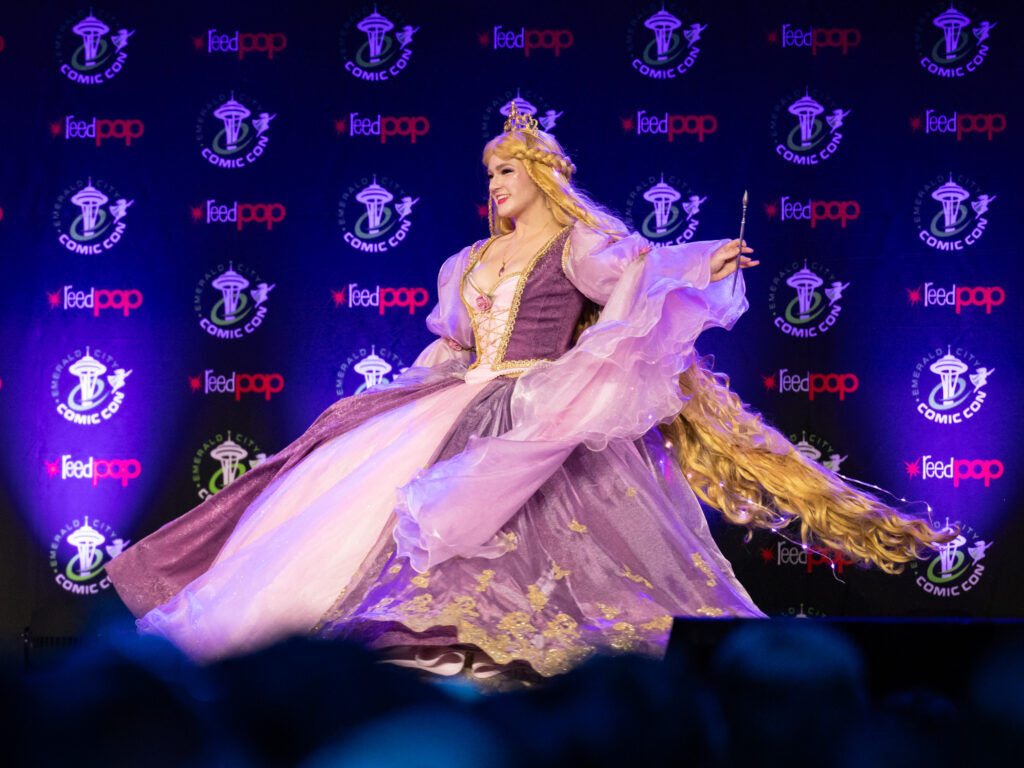
No regrets. It’s fucking magical.
I’m really proud of this costume, but more than that, this cosplay and the competition experience really solidified how incredibly lucky I am to have the friends I do. I have never felt so loved and supported as I did during this entire build process, and I didn’t even step offstage before I had people running up to me screaming in excitement. I have never felt so loved and supported, and I hope I can do my part to return that energy back into the community <3 Somewhere in the back of my brain, I made this dress because I wanted to prove to everyone that I belonged with my friends, but the entire thing just reminded me how silly that train of thought actually was.
I’d be here for another 5000 words if I tried to thank every single one of you, and y’all know who you are, so here’s two I want to especially highlight:
@stephpipercosplay, who literally became my editor in chief between the feedback on my application and the depth of crit she gave my build book – it’s silent work, but those two things are the most important parts of the competition, and no one ever sees them but the judges!
And, as always, a forever thank you to @goodgreyciouscreations. I won’t get into the details, but Saturday of ECCC was a nightmare of coordination and stress, and he was, as he always is, an absolute rock.
Leave a Reply