2.0 – The Pink Bodice
I finished the undergarments about the end of December, which left me a month to do the dress itself before the contest submission deadline, and two months before it had to be completely done for ECCC. Luckily, I had the foresight to finish all my other costumes for ECCC before I started on Rapunzel – I cannot recommend this approach enough, so protip if you’re planning on doing a craftsmanship competition, especially if you’re a dumbass who basically starts the competition piece 75 days before the con (which I decidedly do not recommend).
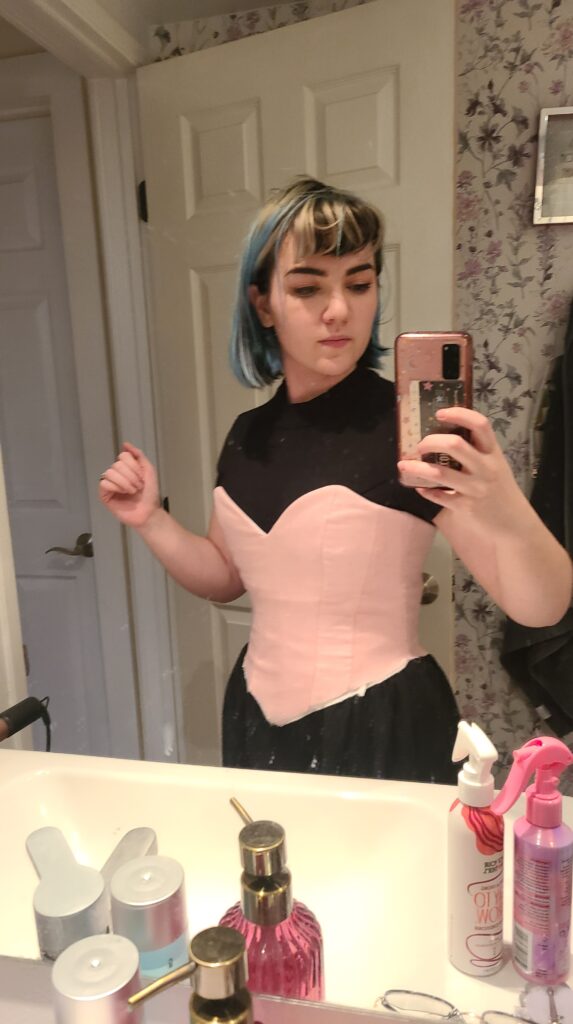
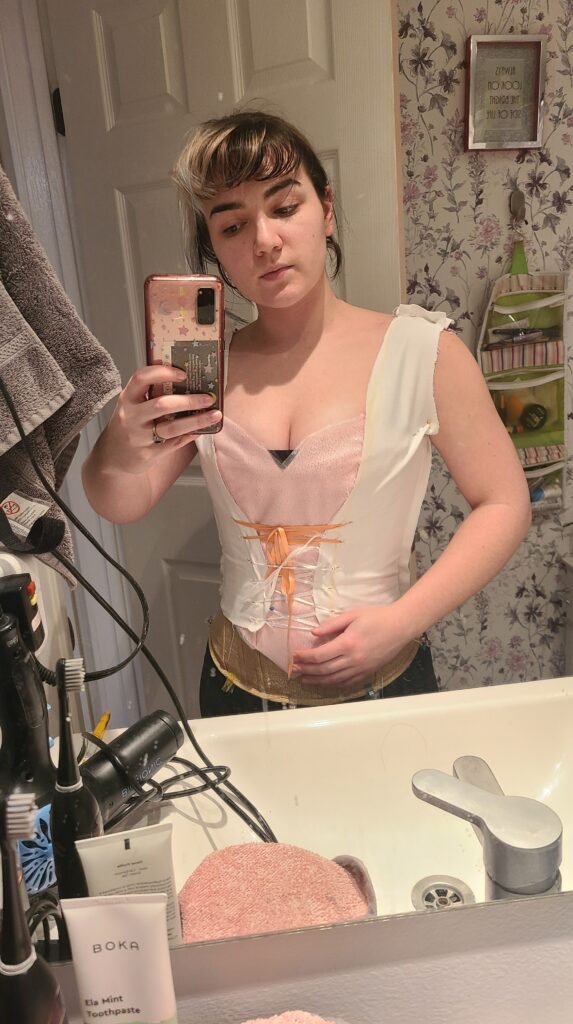
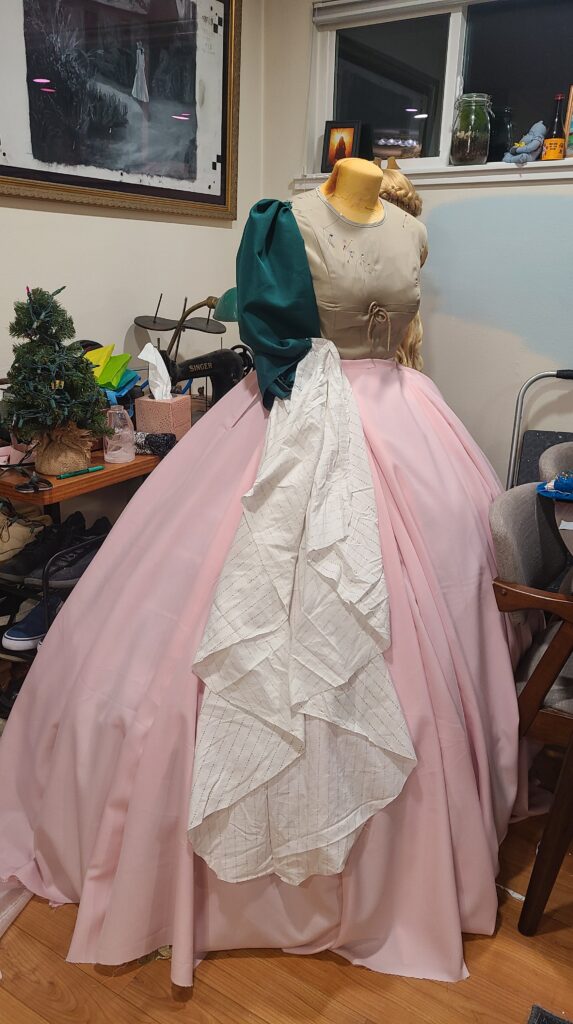
I started with the pink bodice, since I knew I could whip that out pretty quickly, and that’d free up all the rest of my pink fabric to be used on the skirts to make them as fluffy as possible.
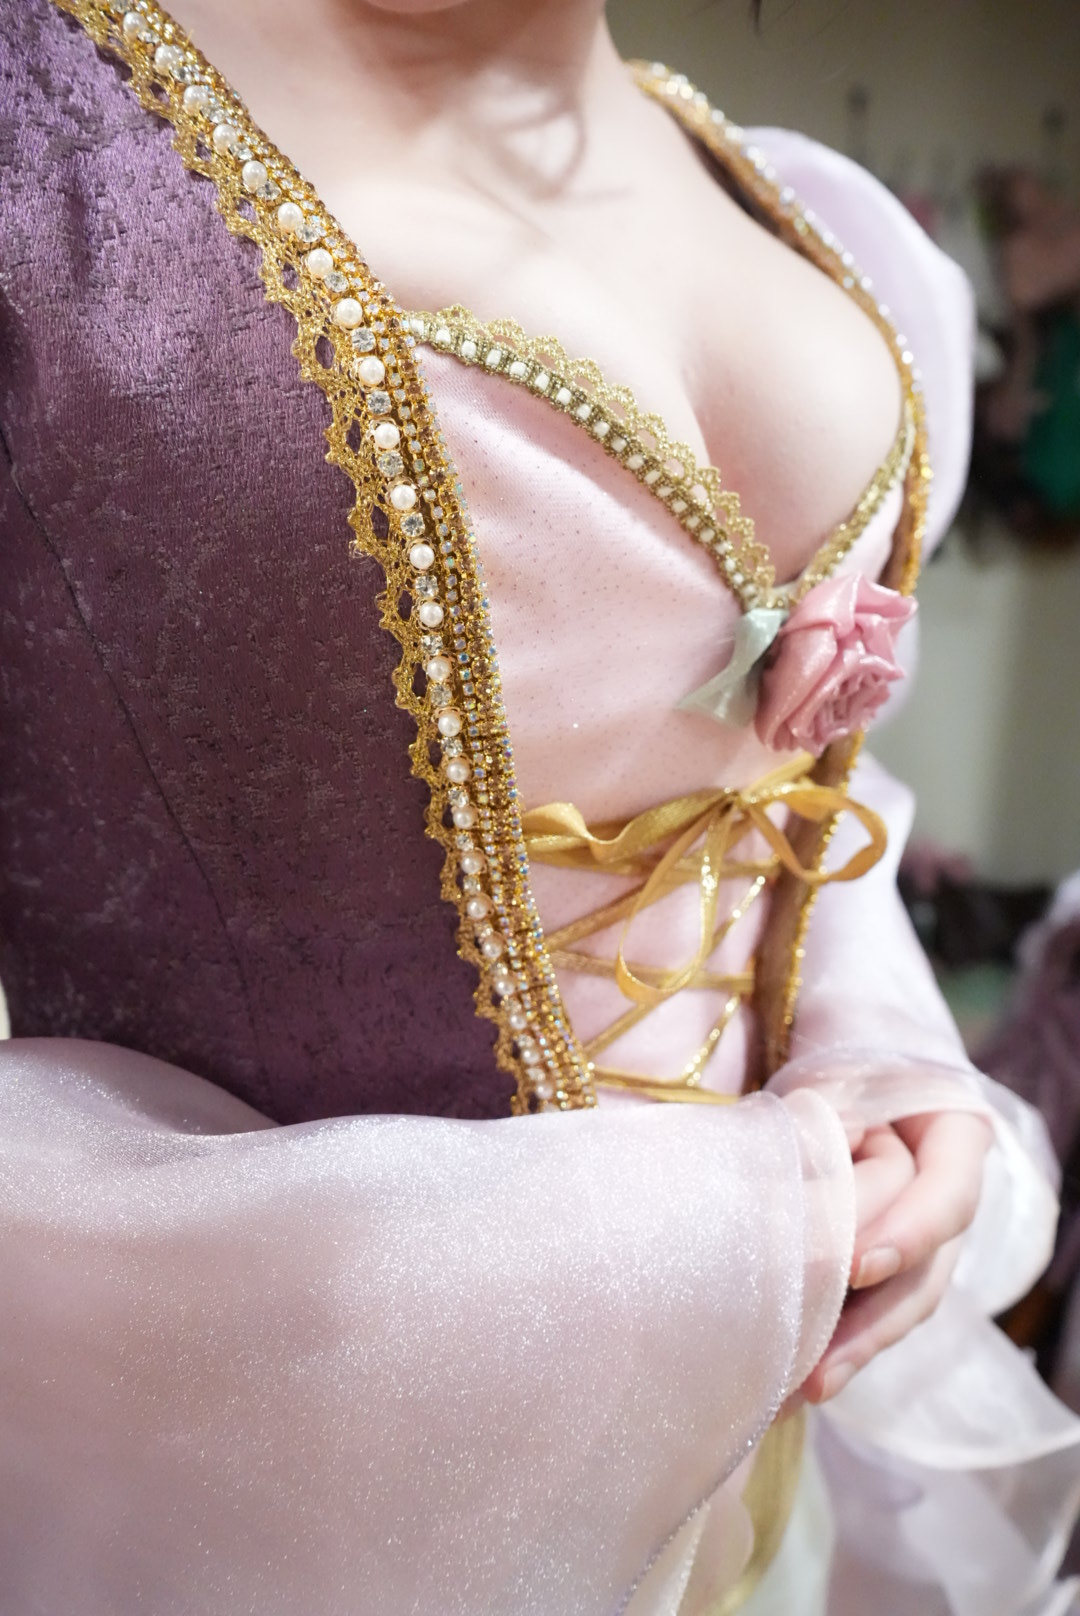
The bodice was based off of Simplicity 5006, which has been my go-to strapless sweetheart bodice pattern forever. I actually used it to make my Coronation Elsa way back for ECCC 2016, which was my first corset-style bodice! This time around, I shortened out the entire hip region, eliminated the front seam, and exaggerated the sweetheart neckline and front bottom point. I dipped it pretty low to try out a more flattering neckline for my bust, and I’m really happy with the decision! I have a pretty big bust for my frame, and often I feel like I have no collarbone because my boobs are squished up to my neck. The result is that this dress is very cleavage-y, but I think it’s much more flattering and creates the illusion of a slightly longer torso.

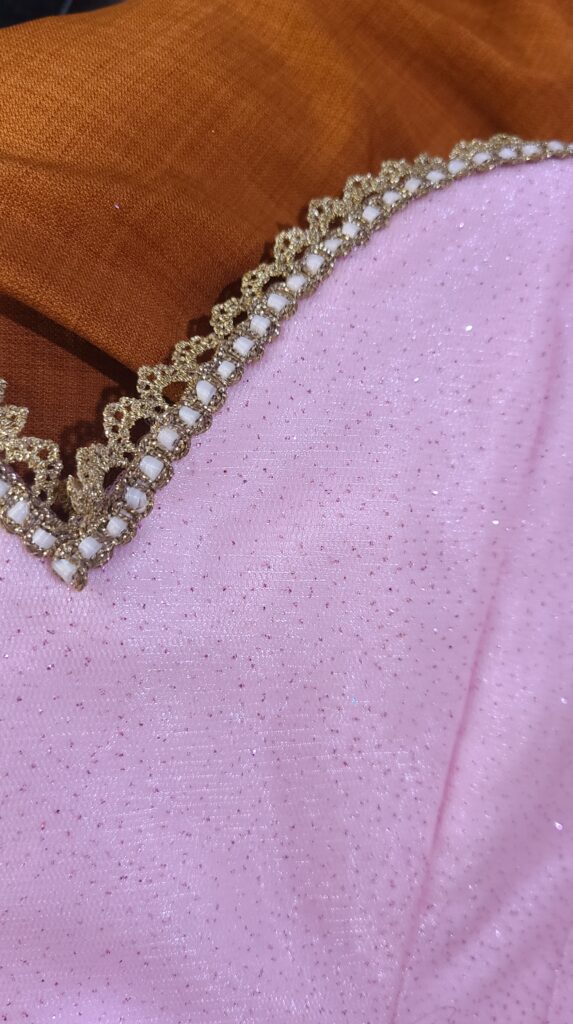
I layered the pink organza and glitter tulle over a leftover pink satin scrap I found digging through my drawer. I needed to conserve the matte fabric I bought for the skirt – I only got 8 yards, which seems like a lot, but I had 14-15 of the other fabrics, so it was definitely limiting in comparison.
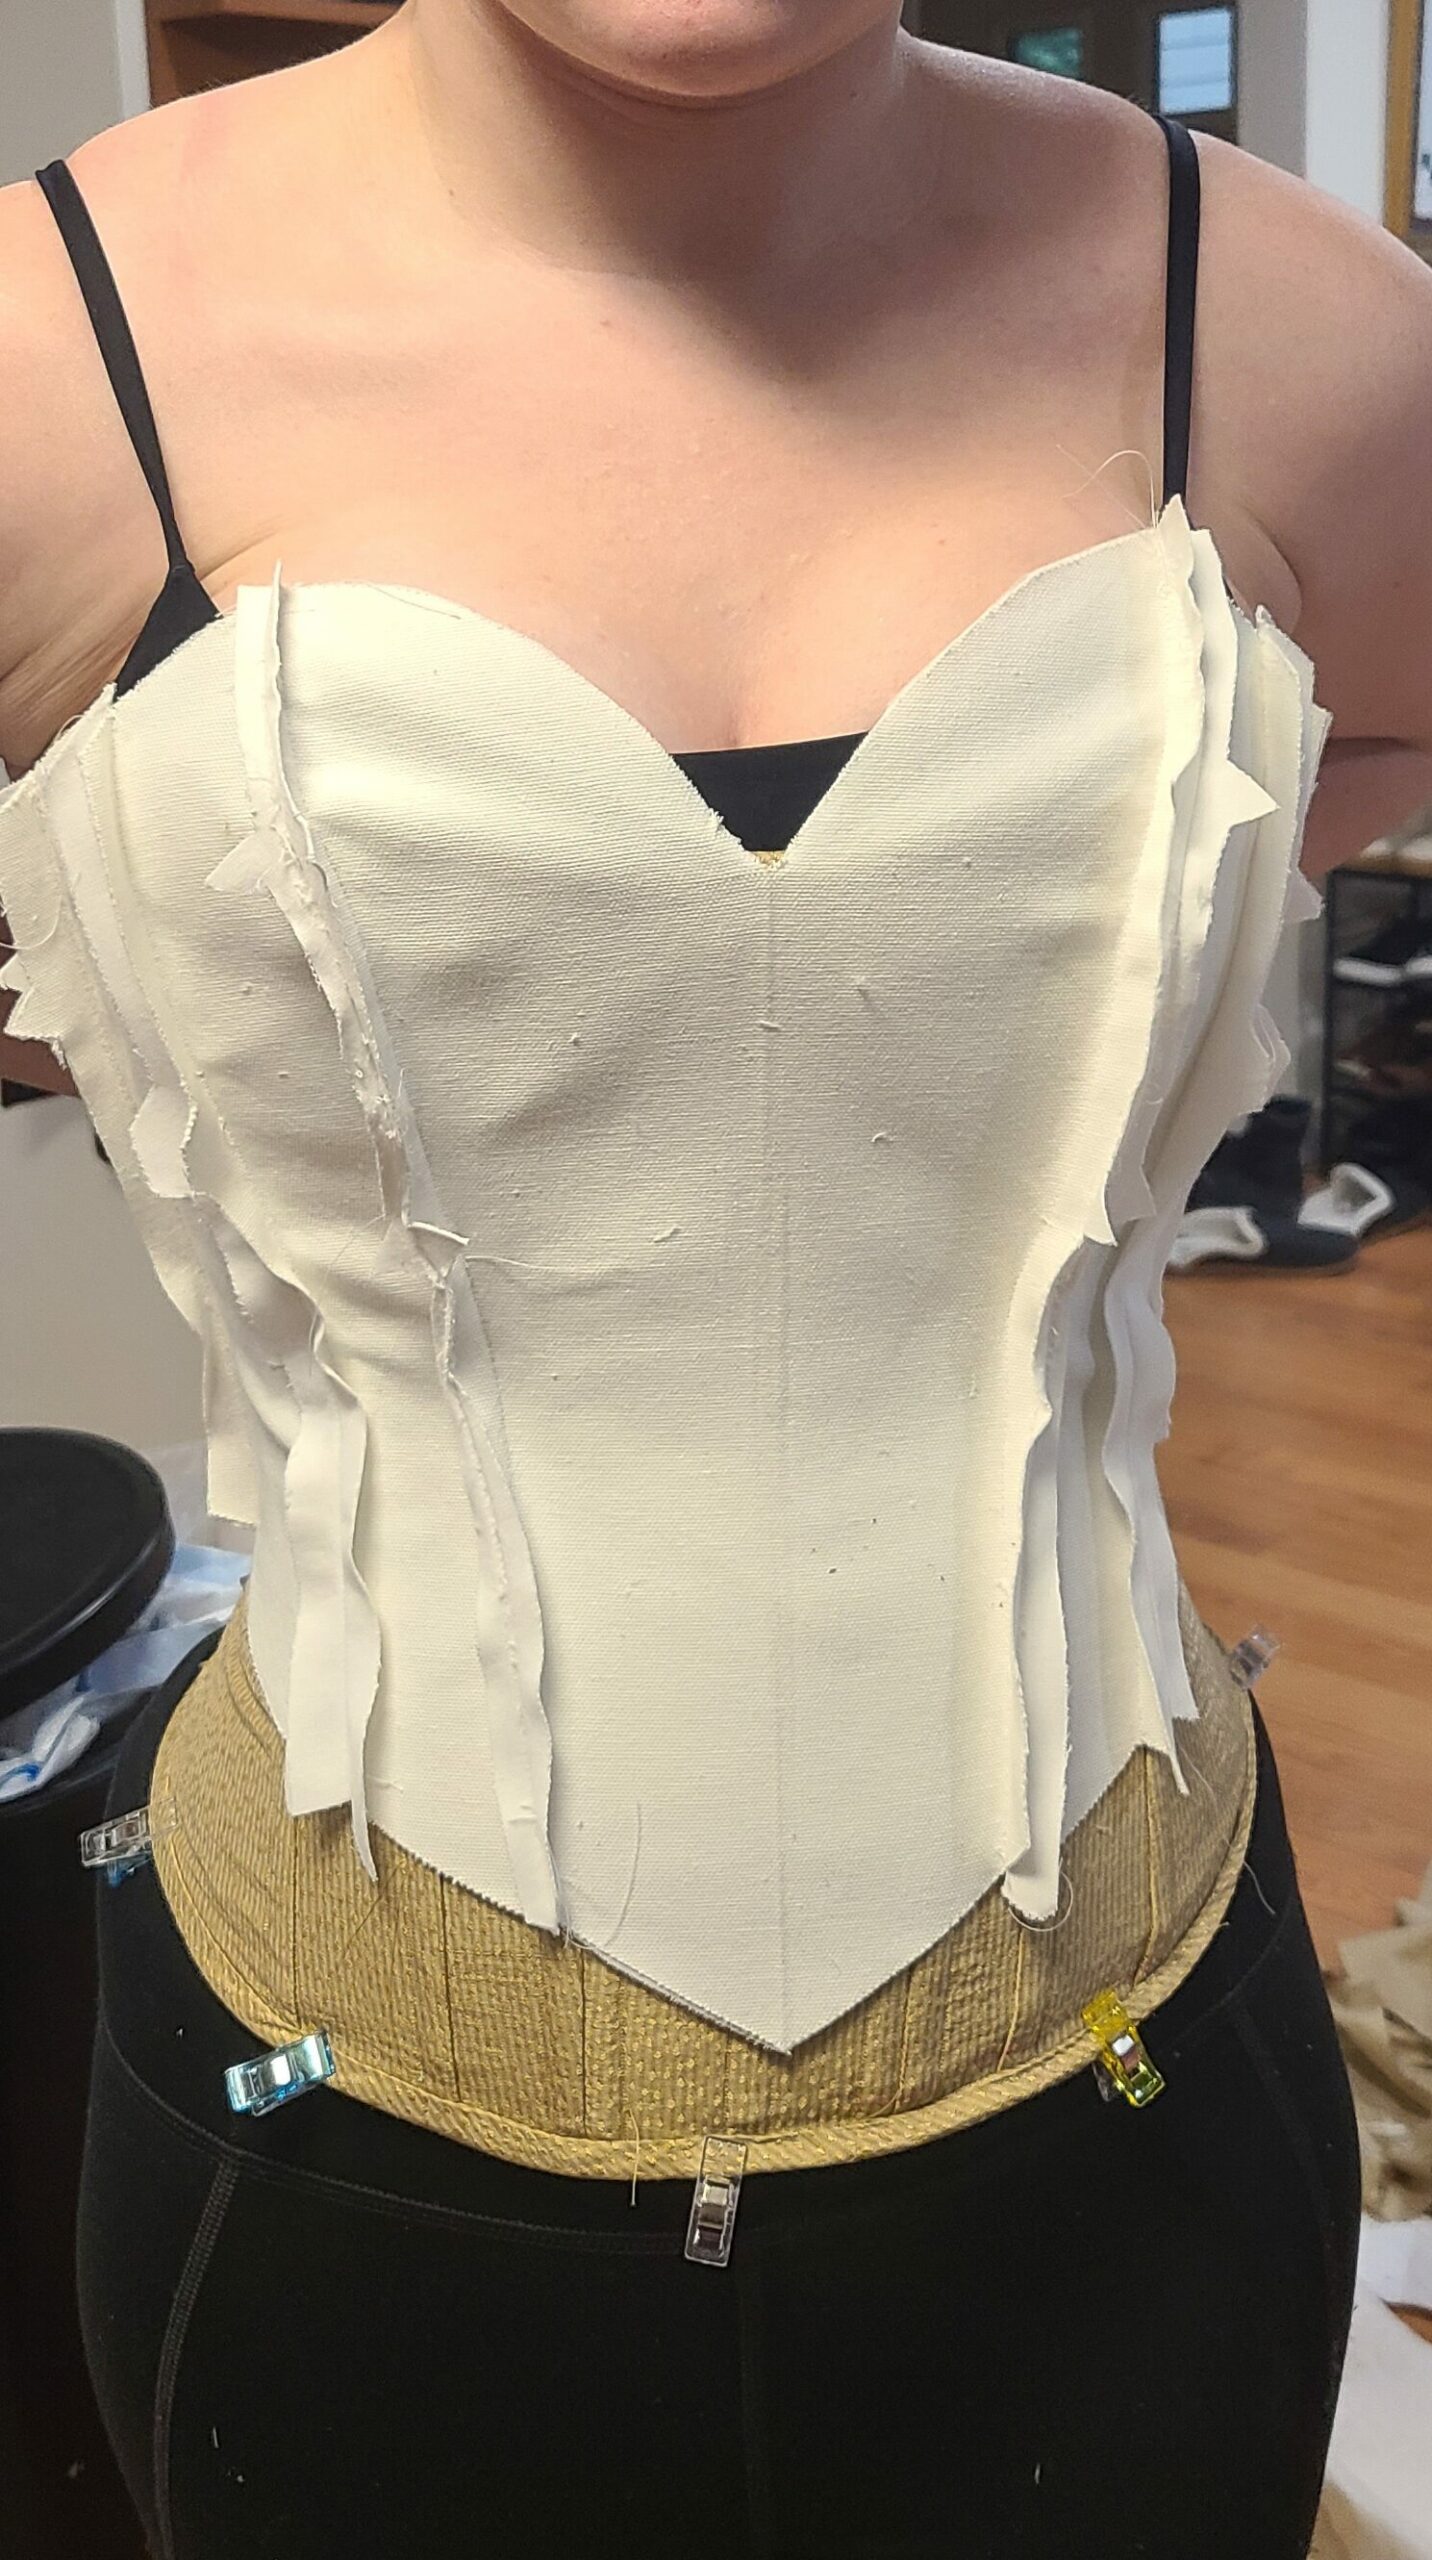
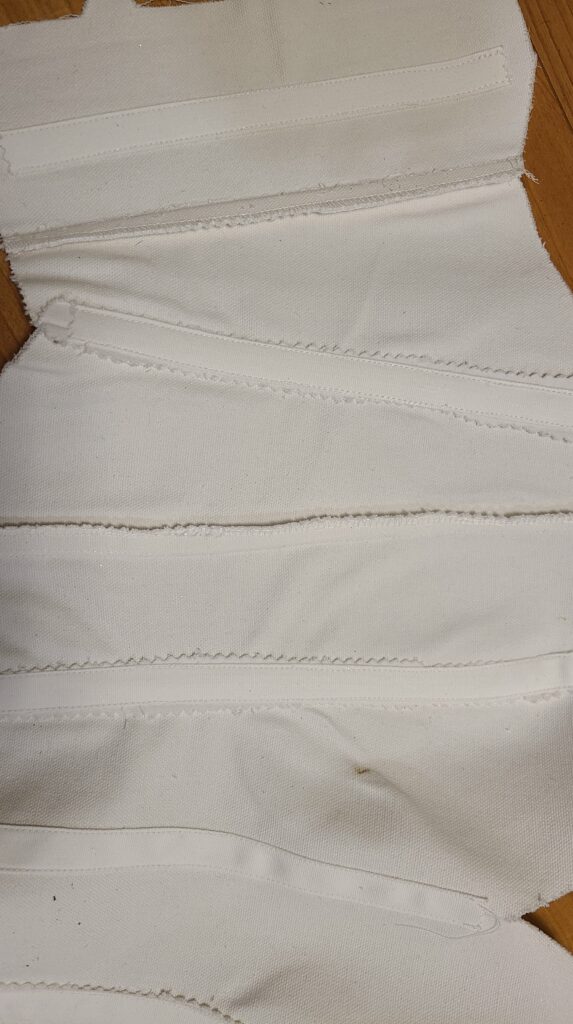
The corset underneath does most of the necessary shaping work for the dress, so I only used a few pieces of boning for the pink bodice, and pressed and pinked the seams on the interior. The white duck canvas is also interfaced for extra strength with a mid weight woven interfacing. Woven fusible interfacing is my new best friend. For this bodice I ended up using a twill tape style cover on pressed open, pinked seams. More bulk reduction, yay!
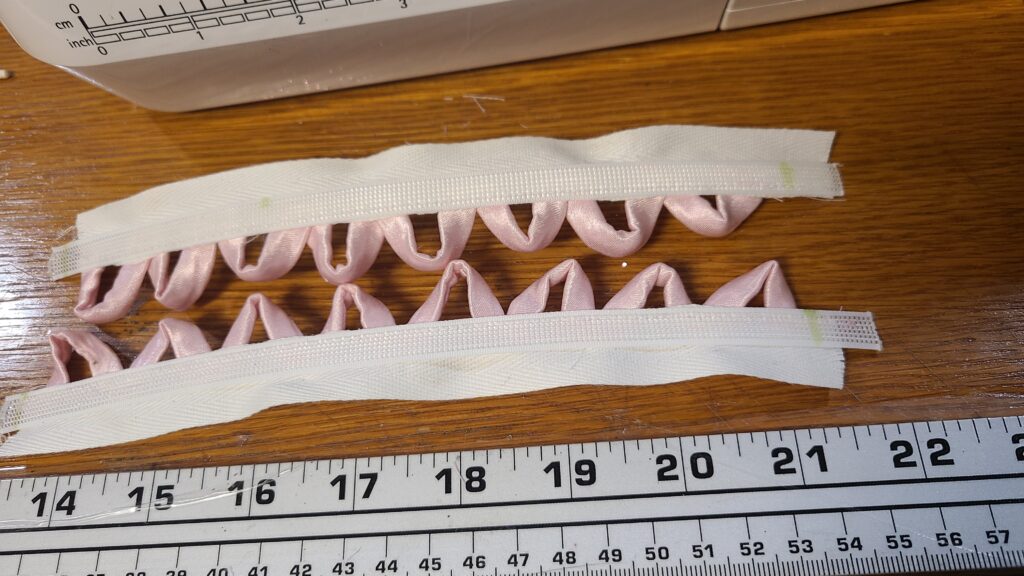
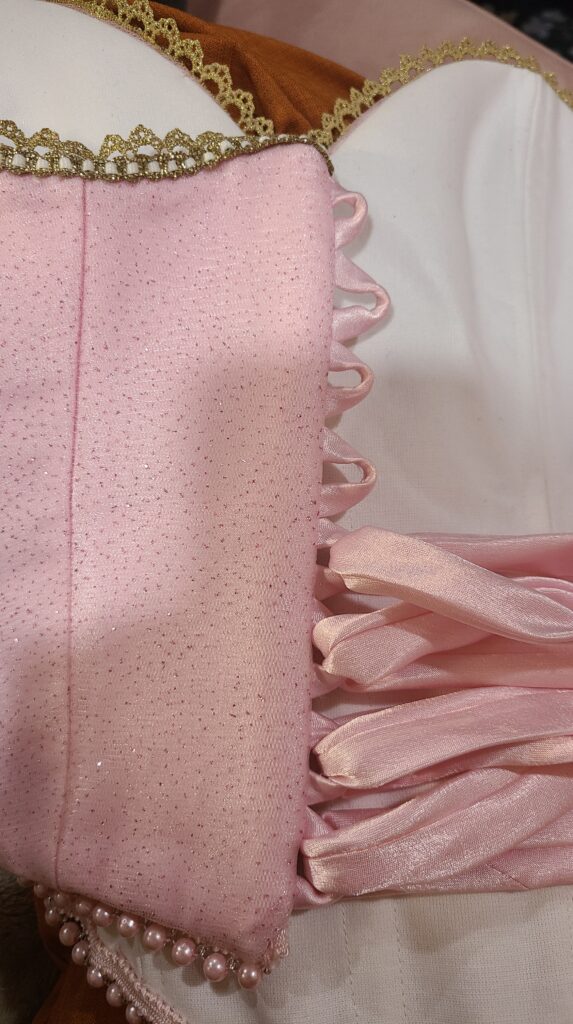
I made lacing loops for the back out of the leftover pink satin, and a big lacing ribbon. I waffled a lot on how I wanted to close this bodice and ended up going with the lacing loops because I wanted to use a variety of techniques, and I didn’t need the strength for this bodice that I needed for the corset since, again, the corset held the stress of my body.
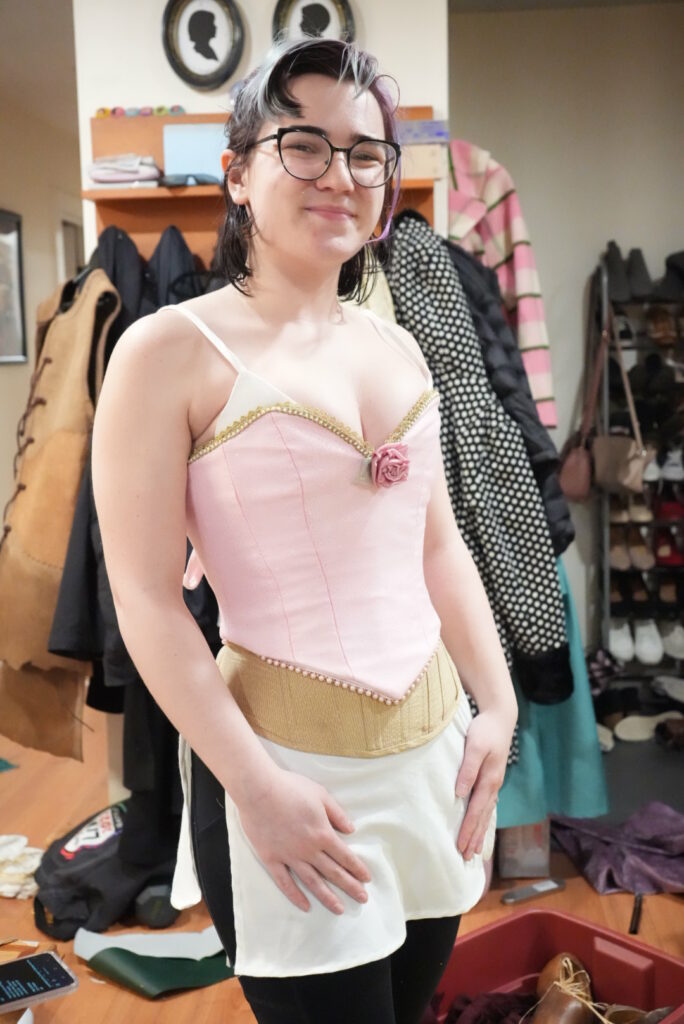
I’m very proud of how clean the sweetheart neckline and bottom point of the bodice are! It’s usually a place I really struggle with, especially using a bag lining (bag lining sucks, y’all, it never gets easier). But boy howdy, did I get those points SHARP. I also knew that if I didn’t have time to do trim, those two features were quite literally front and center, so I needed to do that really well.
Unfortunately, there wasn’t really a secret technique I can share on this. I just went really slow, used my iron a lot, and trimmed my seam allowances really tightly, all things I hate doing as an impatient sewist terrified of making garments too small.
I layered two gold trims for the top of the corset to match the movie art and hand stitched them down at a craft day at the Bellevue Library Makerspace (go hang out with @BrianneOpal!!), then used a pink pearl trim for the bottom edge and hand sewed that on at the Stuff You Should Know live show. Hand stitching went most places with me in the months of January and February.
2.1 – The Overbodice
One of the very early decisions I made for this dress was to keep the purple overbodice separate from the pink bodice, which I figured would give the gown more depth and realism while also making it easier to repurpose later if I so chose to.
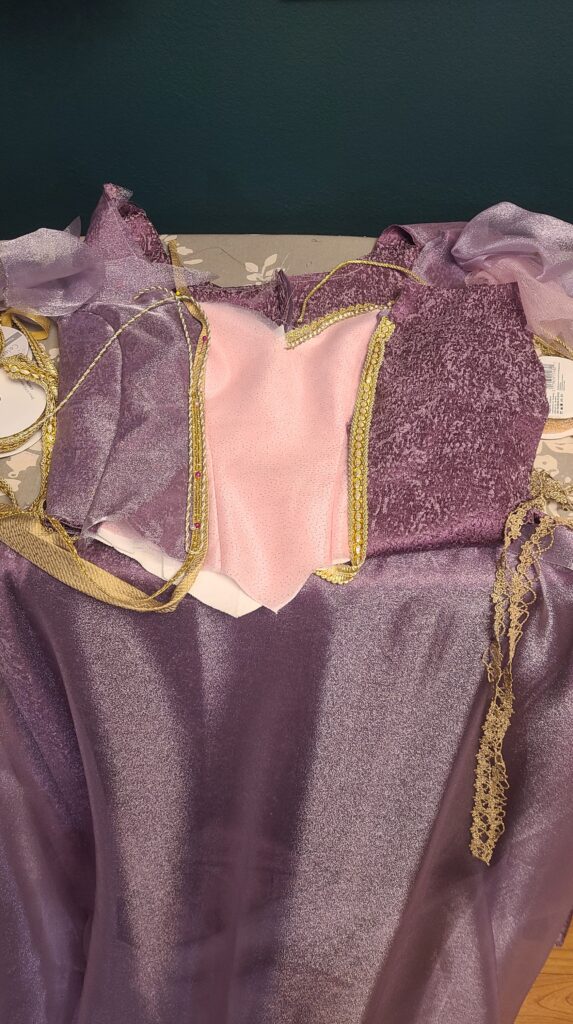
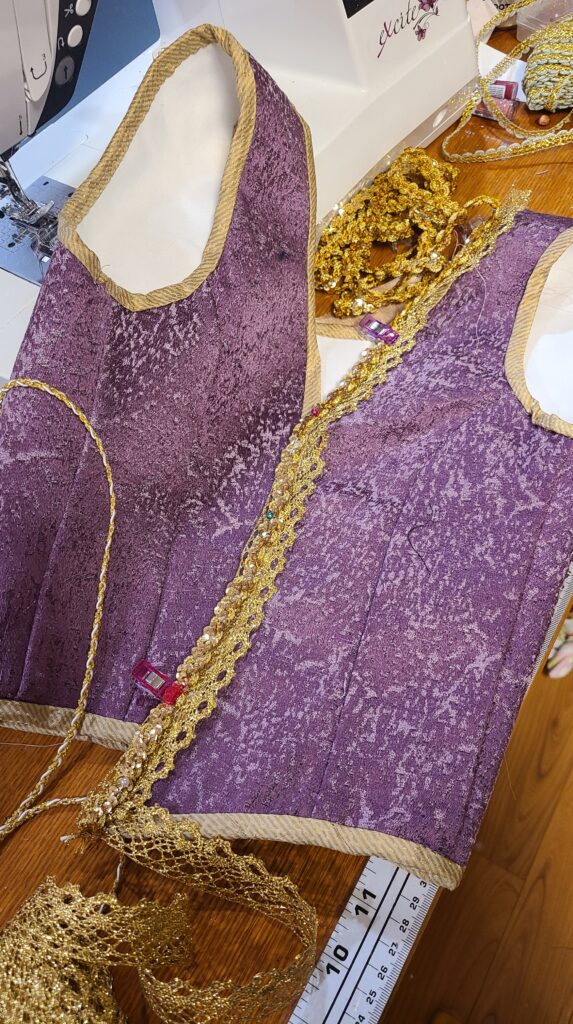
The vest was self drafted and based super loosely on a German Cranach gown bodice – fun little tie in to my previous historical Rapunzel and her German fairytale roots – and came together pretty easily. I lined it in the interfaced duck canvas and put in two bones on the sides to help it keep its shape. I initially covered the purple upholstery fabric with the lavender organza, but decided against it – while it added to the shimmer, it eliminated all the contrast in the dress and made it feel much more one note. One of the reasons I bought the upholstery fabric was that I really liked the texture, and not being able to see it made me sad!
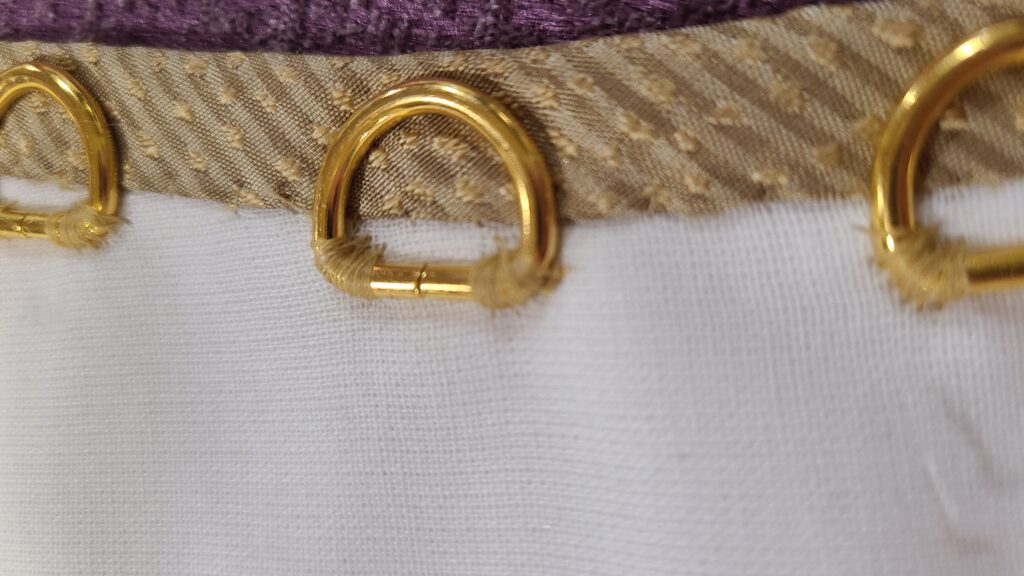
There’s a hint of front lacing in the concept illustrations, so I took that, along with my sister’s Barbie Rapunzel from the 1990s that had front lacing closures on her dress, and I ran with it. I love a good front closure, so the overbodice has D-rings for lacing hand sewn into the canvas. I got the idea of D-rings from my friend Lexi, who was putting D-rings into their bodice one evening instead of traditional lacing rings. They were right – D-rings all the way. Way more stable than traditional lacing rings, and easier.
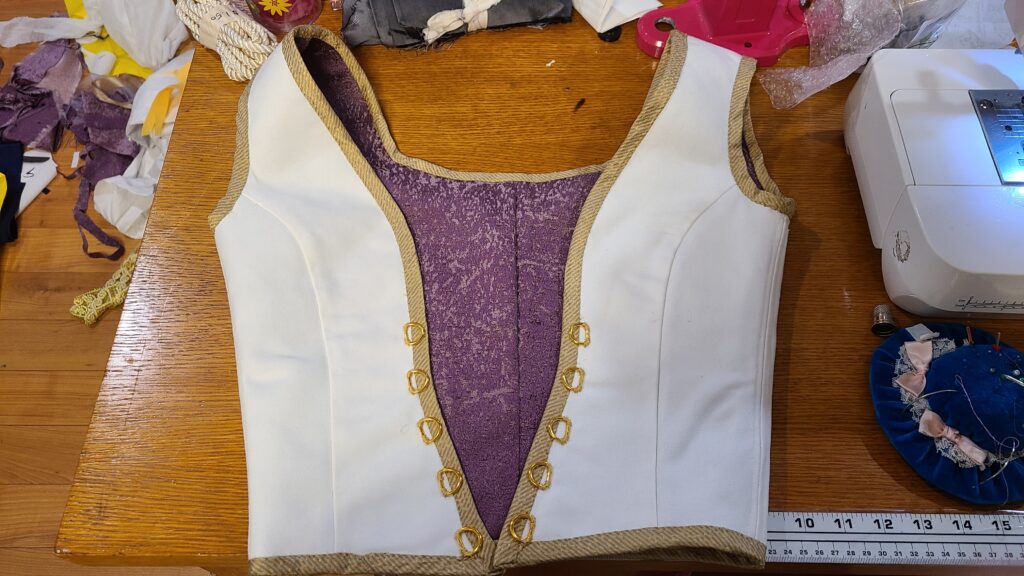
I did end up needing to seam rip the shoulders and adjust the arm scythes down, because once I could lace the bodice it fit a lot differently. It ended up being an easy adjustment that I pulled off in one try at 2am – an approach I wouldn’t endorse, but it definitely worked out this time around.
I made more bias tape out of the gold corset silk and whipstitched it on to make everything nice and neat and cover the raw edges.
Secret snob alert: my favorite thing is properly attached bias tape, whether by hand or machine. I cry a little when I see people post about attaching both sides at once.
While making this, I thought I could get away with just the side boning, since the rest of my torso is swimming in metal and the overbodice is two pretty heavy fabrics, but it does have a tendency to ride up as I wear it, leaving some really ghastly gaping on my shoulders. I’m debating some hooks to keep it in the right spot, or boning, or both, for future wears, but it definitely needs something.
As noted above, the pink bodice got trim first – two layered trims on top, and one pearl trim on bottom. Those decisions were super easy. That was followed by overbodice trims, which really stumped me. I bought a lot of different trims for this, and combined them in every way I could think to, and none of them felt right. Some were the wrong gold tone, some had a scale problem, and none of them made me happy!
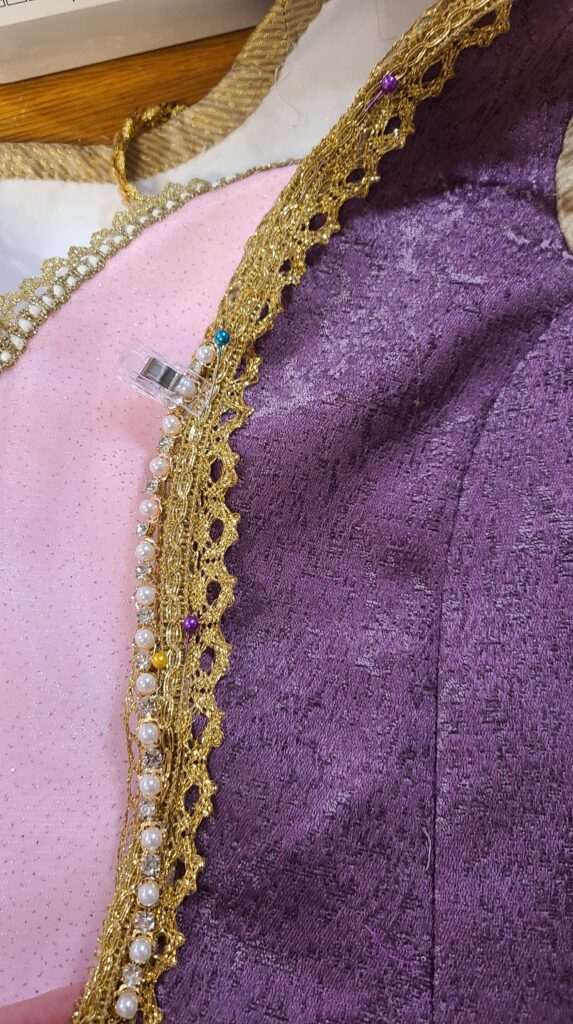
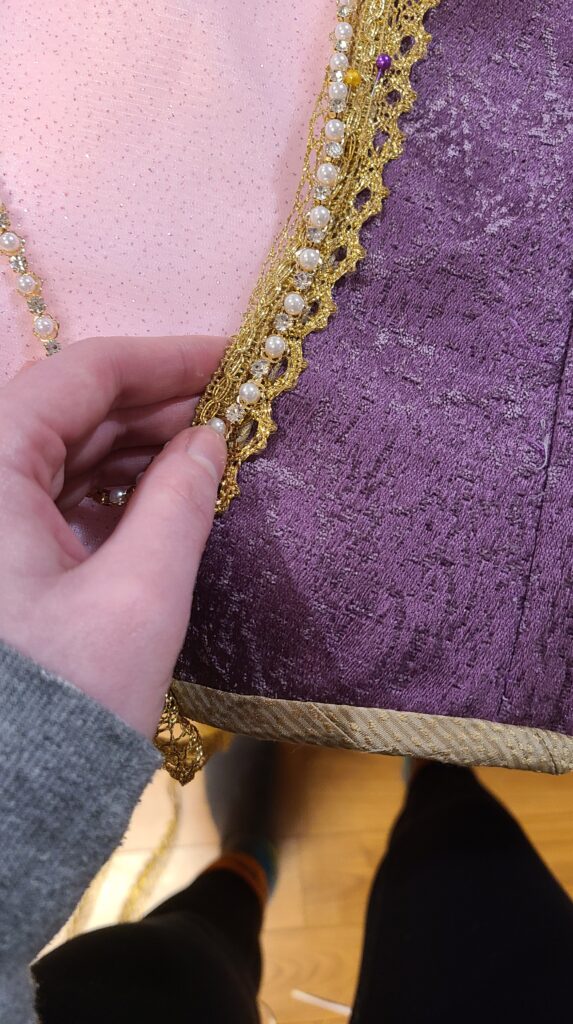
My friend G, who made an adorable Rapunzel for himself for con (Surprise! My cosplay was actually a secret group cosplay. We got one photo together and then I had to go back to panicking, Lexi had to take off their wig, and G needed to get out of his costume completely), was talking about his sleeves at a crafting hang we were having while I was in Trimbo. He had a bunch of AB rhinestone trim left over, and I stole it immediately, layered it with a pearl trim and another gold trim, and finally had my overbodice sorted. It ended up being the literal perfect amount for my bodice with about 6 inches to spare.
2.2 – The Sleeves
Okay, the moment we’ve all been waiting for, let’s talk about the sleeves. Yes, they get their own entire section.
I love the sleeves.
I went with a triple layer sleeve – pink organza, glitter tulle, and lavender organza – to tie everything in with itself. The doll sleeves are a contrasting iridescent organza type, which I do love but I really didn’t feel like spending any more money than I already, so I went rogue.
And I like to think if there had been the budget for giant, floor length, waterfall, lettuce hem sleeves in the year 2002, this is exactly what the dress sleeves would have been, so truly it’s just committing to the initial vision of the artists.
The sleeve is constructed in two parts: the upper and the lower sleeve. The upper sleeve is a pretty typical bell sleeve, with the glitter tulle sandwiched between the two organzas to minimize the scratchiness, and the lower sleeve is just a giant oval with a cutout in the middle for my arm.
Sometimes, a girl wants to fulfull her childhood fantasies of the giantest, flowiest, princessiest sleeves, and she chooses a Barbie Rapunzel costume to make them.
I debated a bunch of different shapes for this lower sleeve, and my initial design had a slit so my forearm was bare, with a big, trailing cape style sleeve. Grey convinced me after mockup #1 that it’d be better to have a full length sleeve, and I agreed. Mockup #2 was perfect, so I cut the fabric. For the lower, the lavender organza is still the outermost layer, but the glitter tulle and the pink organza swap places. Itchier, but I really didn’t want the glitter getting lost in the sleeve, so the itchiness is worth it.
I sewed the two halves together, dyed a little bias tape lavender to match the sleeves, and covered all the raw edges with it. I lettuce hemmed each layer with fishing line and a small zig zag stitch with silver metallic thread – my initial intent was to go back in and do a second pass on the zigzag, but after doing that on the skirt hems, I was worried the long, beautiful swoops of the sleeves would be ruined if I did that, so I just trimmed as close to the stitching as I could and passed the lighter over the hems to melt the organza and keep it from fraying.
This was also what I was doing in line for pre-judging, embarrassingly enough. I got most of it done the night before, but I kept finding little spots I missed, so the scissors came to con with me. Don’t be like me, kids. Start your costumes more than 75 days before con, and finish them more than 1 hour before prejudging.
The sleeves and the overbodice are also hand stitched together. I did this after all the trim was sewn on, because the sleeves make moving the overbodice around a nightmare.
On the sleeves, I just used the gold trim and the pearl trim. Everything got hand stitched on in layers, and I found my new favorite thread for attaching trims – machine embroidery thread! Super slippery, reasonably strong, and extra thin. Made the entire process easy as pie (and if rolling pie dough aggravates my tendonosis the same way as hand stitching on trim, the simile still counts).
2.4 – The Pink Skirts
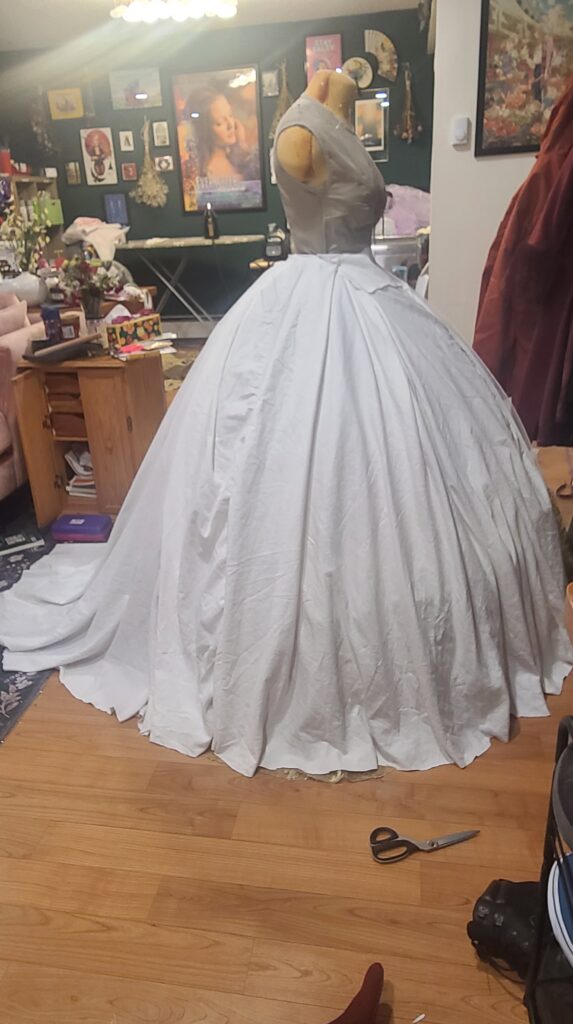
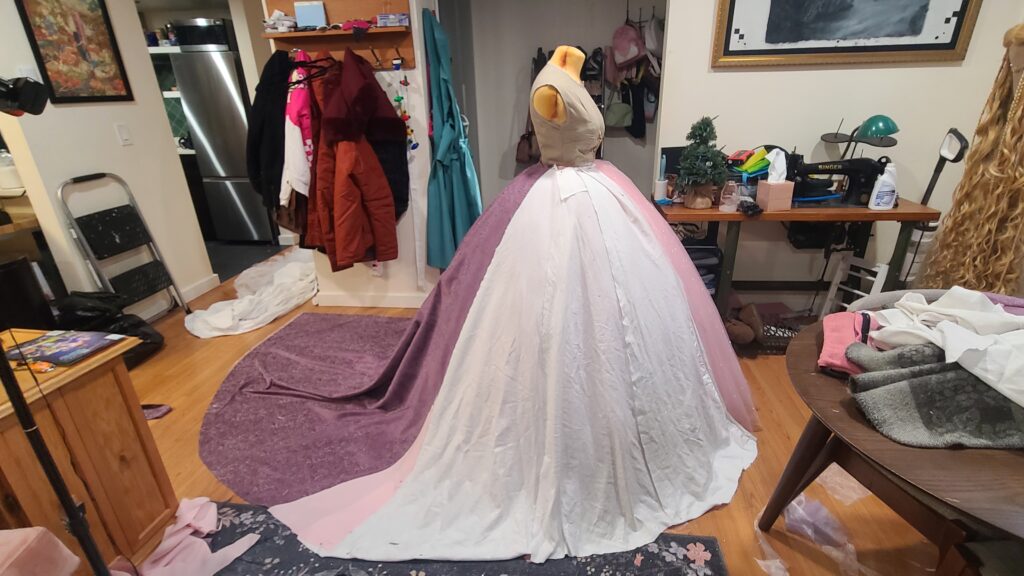
Each of the skirts was made on the same rough pattern – a 9 panel 1 ½ circle skirt cut with a slight train at the back. I patterned it out with an old bedsheet until it was about right, and then expanded the fabric at the waistband with each of the sheer overlayers to finally get the fluff at the waist I’d been holding off through all the underskirts.
The base skirt, what I’ve been calling the Matte, has a historical-style split waistband that ties in the front and back, and it’s pleated to reduce bulk.
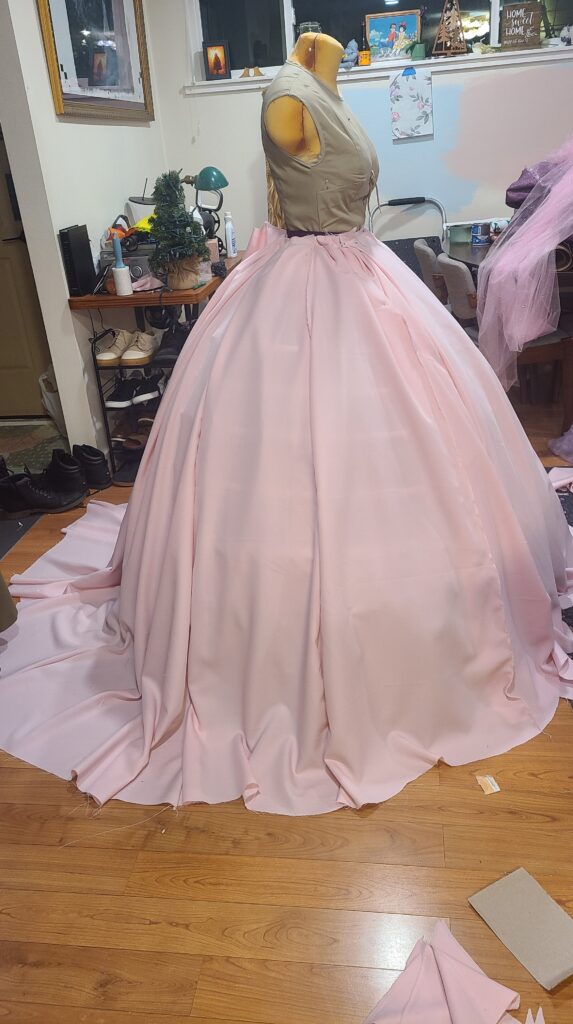
There’s two skirts on top of that, the pink organza, and the glitter tulle. Each layer slightly longer than the last, just by a few inches, to make sure the final dress has a good, even hem. I had wild aspirations of 6 foot long trains that I pretty much ended up entirely cutting since I couldn’t quite get them to lay right underneath the overskirt.
All the waistbands are hand finished on the backside, and each skirt is constructed with French seams. I do think I swapped panels on the glitter skirt, because there ended up being matching short parts at the same point on both sides, but by the time I noticed it I had already done the first level and attached the waistband, so there was no going back and seam ripping. Instead, I took scraps I had left over and hand sewed them onto the glitter skirt using transparent thread. It worked like a charm – honestly, even I have trouble locating them now that the skirt’s all hemmed up.
I let them all hang for a few days, first on hangers, and then on the dress form (propped up on a milk crate so nothing touched the floor) before trimming them for their final hems. My normal ballgown skirt method is just giant gathered rectangles, and I maintain that you circle skirt people are fruit bats. It’s so much more work. (It does spin very pretty, I’ll give you that I guess.)
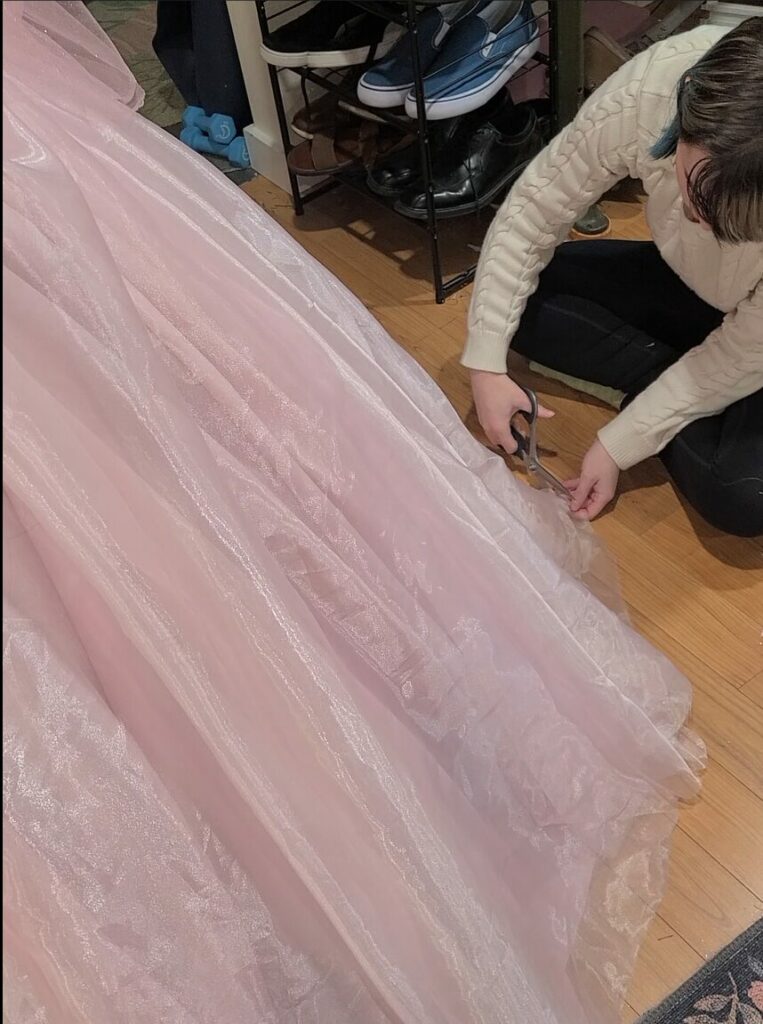
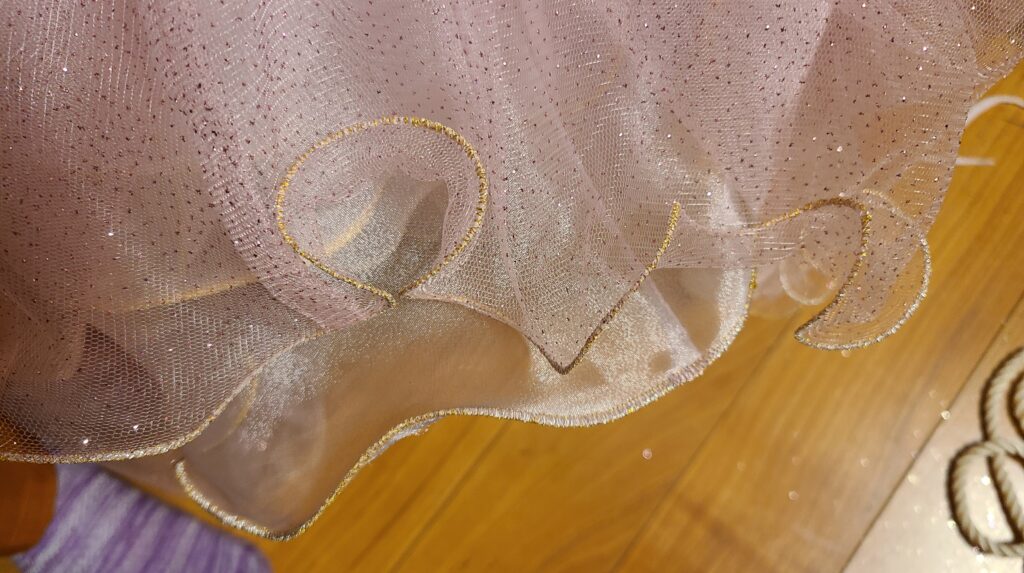
Once they were ready for hems, I did the Matte skirt with 1 inch horsehair braid, and then finished the overskirts with gold and silver metallic thread over fishing line. I went over these hems twice, which produced a really nice, clean lettuce hem, which I, of course, ripped immediately at ECCC on an escalator. Almost an entire decade of doing con escalators in ballgowns without a single incident, and the moment I make a modicum of effort for a pretty hem, the cosplay gods smite me. Typical.
The sheer skirt waistbands, above, are whipstitched for a finish that won’t weigh down the skirt gathers or be visible from the exterior of the dress. I used the matte skirt scraps for their waistband, which worked fine. The matte fabric frays like a bitch, but it was also $4/yard and the exact color I wanted, so it was a tolerable frustration.

When I did my first full try on, I found that the skirt layers really liked shifting around on me, so when I wore it for ECCC, I tied the waistbands together. Worked like a charm, reduced time I needed to get dressed, and kept the layers together but easily separated for cleaning or repurposing later, and if there’s one thing I believe in in cosplay, it’s making things as re-purposeable as possible. These skirts will probably go on to live as petticoats for another project, and it’s important that I can use just one or the other.
2.5 – The Overskirt
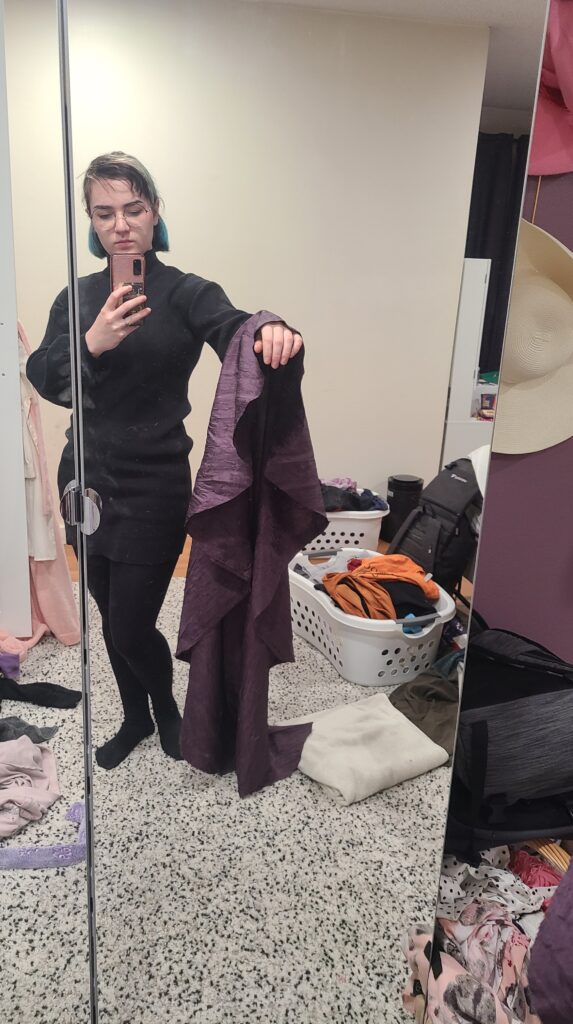
The overskirt is made of two layers, upholstery fabric that matches the overbodice, and lavender organza that matches the sleeves. It also uses the same basic circle skirt pattern, but I edited out the front panels and lengthened it where possible to make a train.
Once it was pleated, I attached it to a waistband with a hook and eye closure, and then I got to hemming. The upholstery layer got a 4 inch horsehair hem, and the organza got a tiny rolled hem.
In some step somewhere, I made a major goof, and I somehow trimmed the overlayer way shorter than the upholstery layer, so I did end up needing to go back in and seam rip the entire hem (RIP me, 7 yards of hem later).
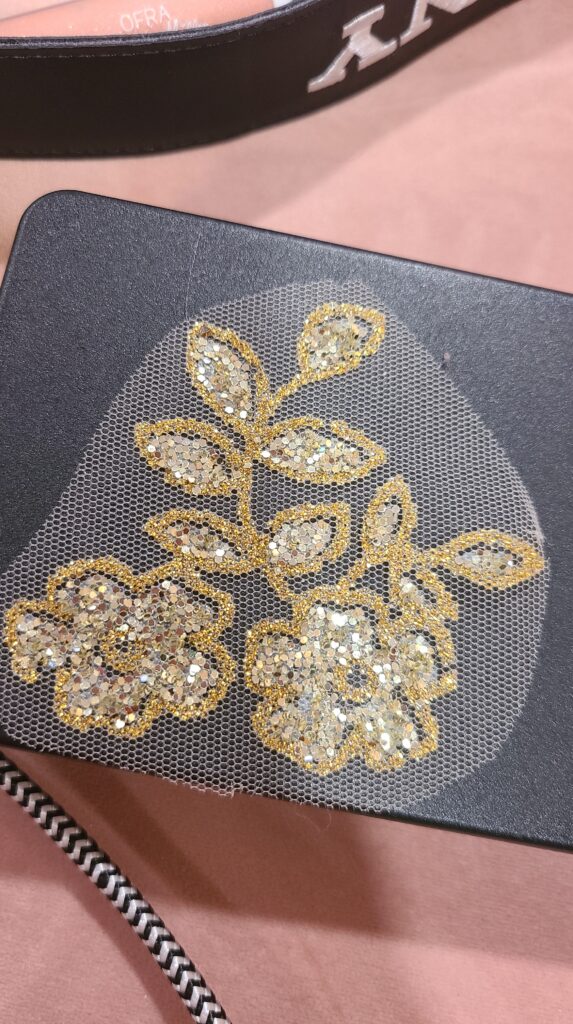
The overskirt appliques are really where I lost time on this dress. The fabric I got needed to be cut out in order for it to be used to edge the skirt, but I kept getting lost in the weeds of the netting.
I didn’t like the netting, so I melted it all off. Was it silly? Yeah, probably, but I had a vision, okay? And the vision required me to sit outside in the freezing Seattle winter, chasing daylight, wearing a ventilator, melting the appliques out with a soldering iron. At some point, I stopped forming memories out there, but I’m pretty sure it took me a good week of all my daylight crafting hours.

Once that was done, I pinned it and then stitched it on to the lavender organza. My first pass was just with my normal foot, and then Grey reminded me that I own a free motion quilting foot, and I was off to the races. (And by off to the races, I mean I was sitting at my machine for hours going in loopty-loops getting the dang bottom sewn on). I also ended up snipping chunks of the glitter edging and folding it in on itself to match the curve of the hem and lay flat. So each of the repeating pattern chunks are actually slightly different, since I had to snip and fold differently to match the curve in the skirt at any given point.
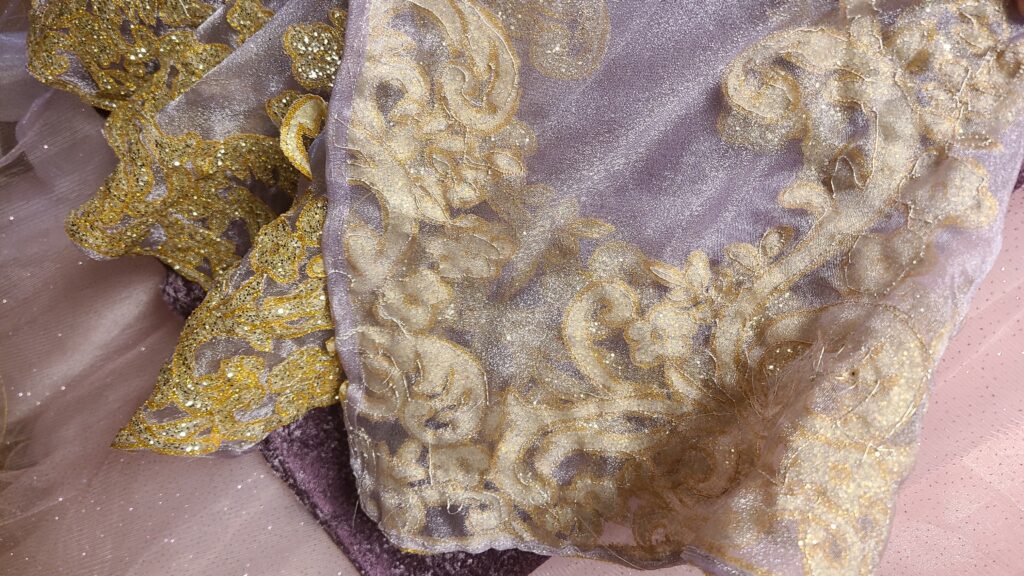
Once I finished that, I placed more appliques freeform, heavier near the hem and lightening up as they got closer to the bodice, rather than equally all over the skirt like the doll. I figured that would probably translate better to real life, and I think I was right.
I regard the overskirt as a middling success, but I do think it’s the weakest part of the costume. The extra weight of the upholstery fabric train, unfortunately, unbalances all the skirts as I walk around unless I’m really, really careful. I may hem the upholstery layer to match the pink skirts next time around, just for balance’s sake.
This already feels very long, so check out Part 3 for all the leftover bits and bobs of the costume.
Leave a Reply